Showing posts with label Tutorial. Show all posts

Easy, Peasy Coasters

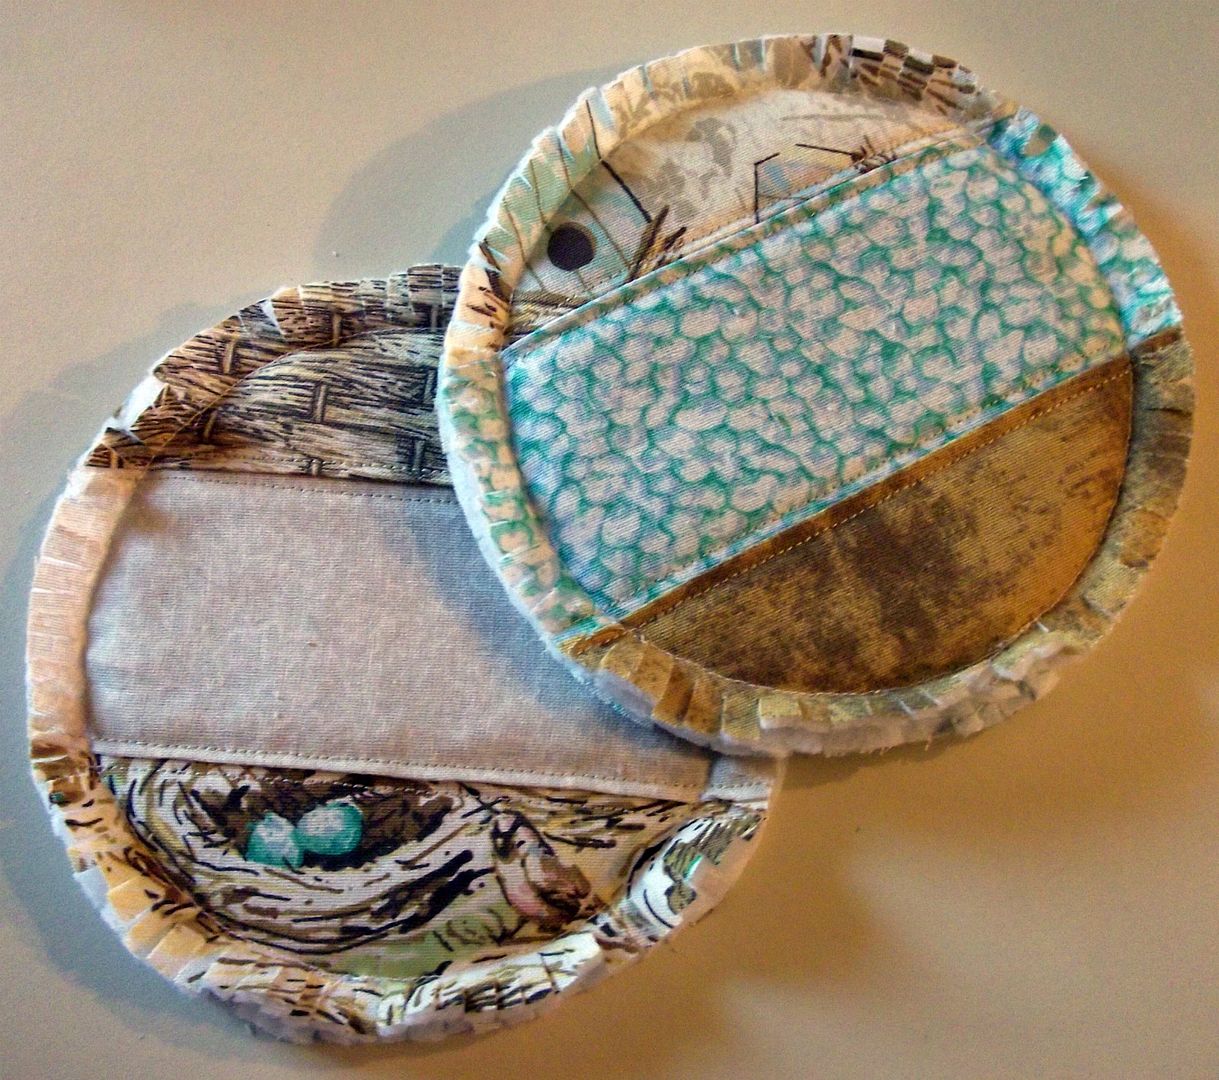
We have a ghost in our house. Yep, I'm sure of it. You may know him. He takes one sock out of the dryer, hides my car keys, and the worst is, he hides my glasses! After I've searched the house for 30 minutes, he sneaks them back on the top of my head! Now for his latest, he took all of our coasters that were on our end tables. I showed him, I made some new ones today.


I know, I still have leftover bird jellies that I machine quilted. I can't throw anything away, so I'm determined to use up every little bit of it.


When we go out to eat, I don't use the coasters they give us, I put all of them in my purse.
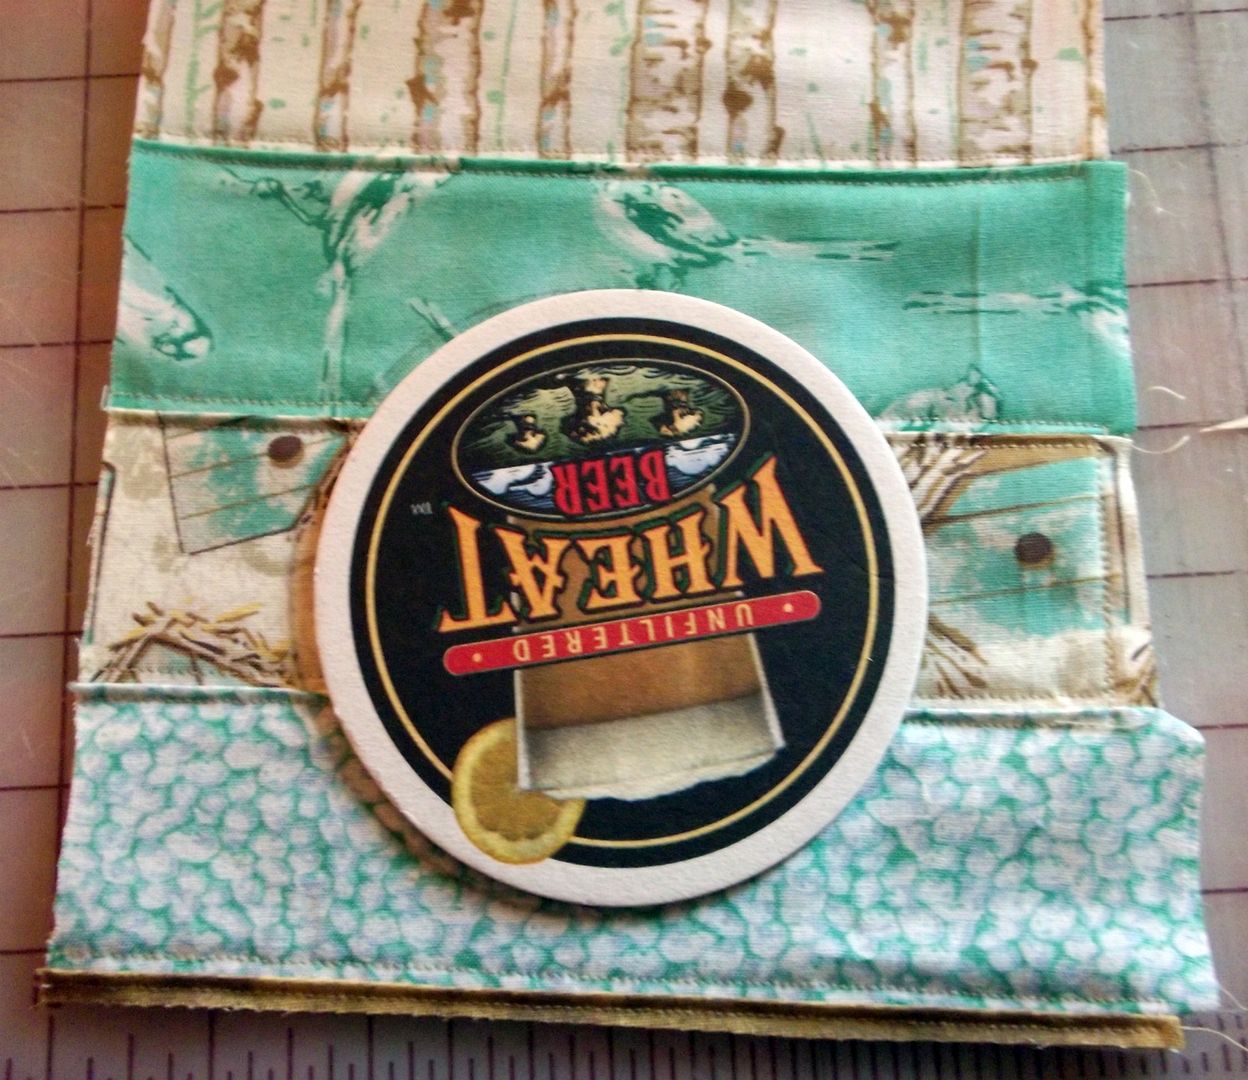
So you take the coaster and trace around it on the right side of the fabric.


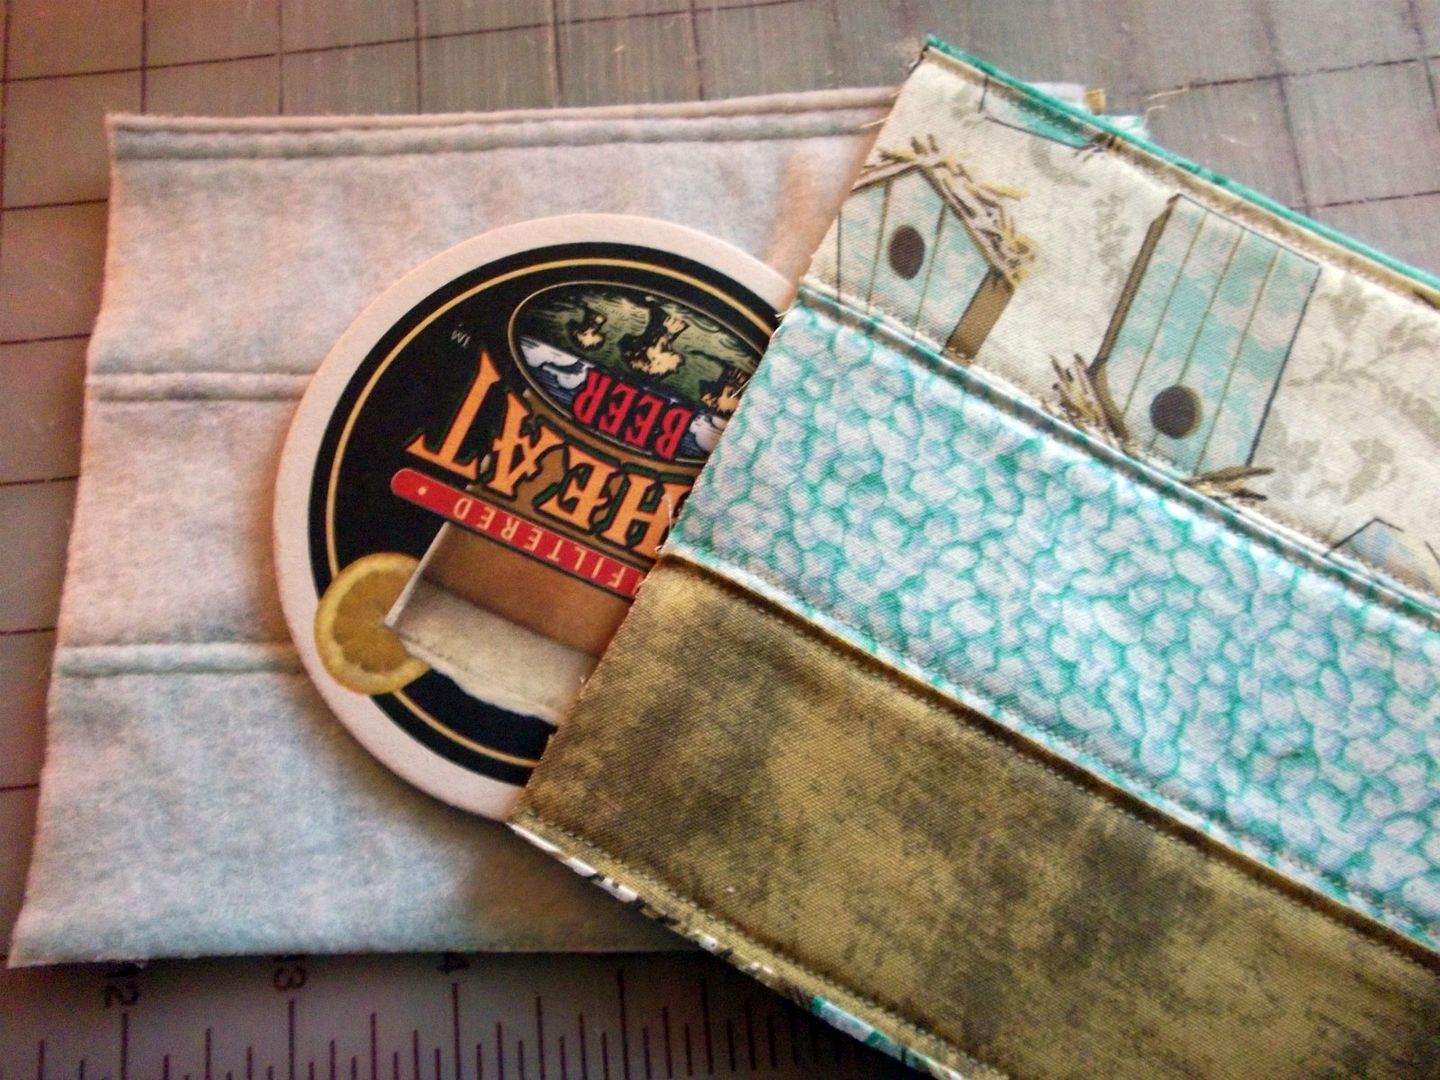
I layered the coaster between the two pieces.


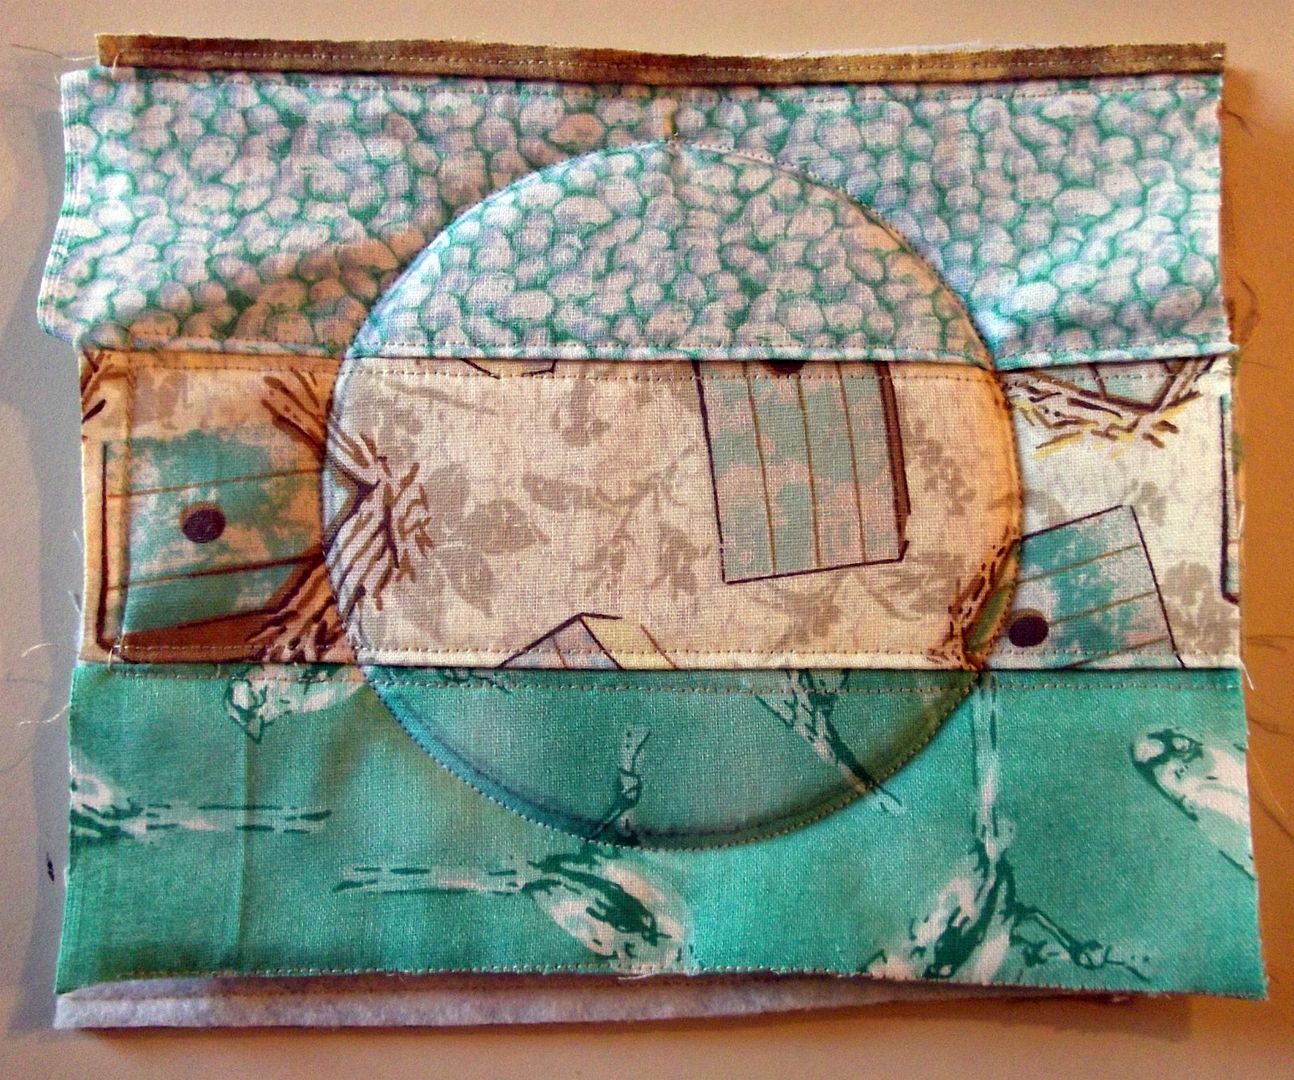
Then just sew around it. I did use a zipper foot and it made it easier.


Trim around and snip all the edges. How simple is that?

While I was blogging, I think our little ghost just turned the toilet paper around backwards!

Sleeve Scrunchies

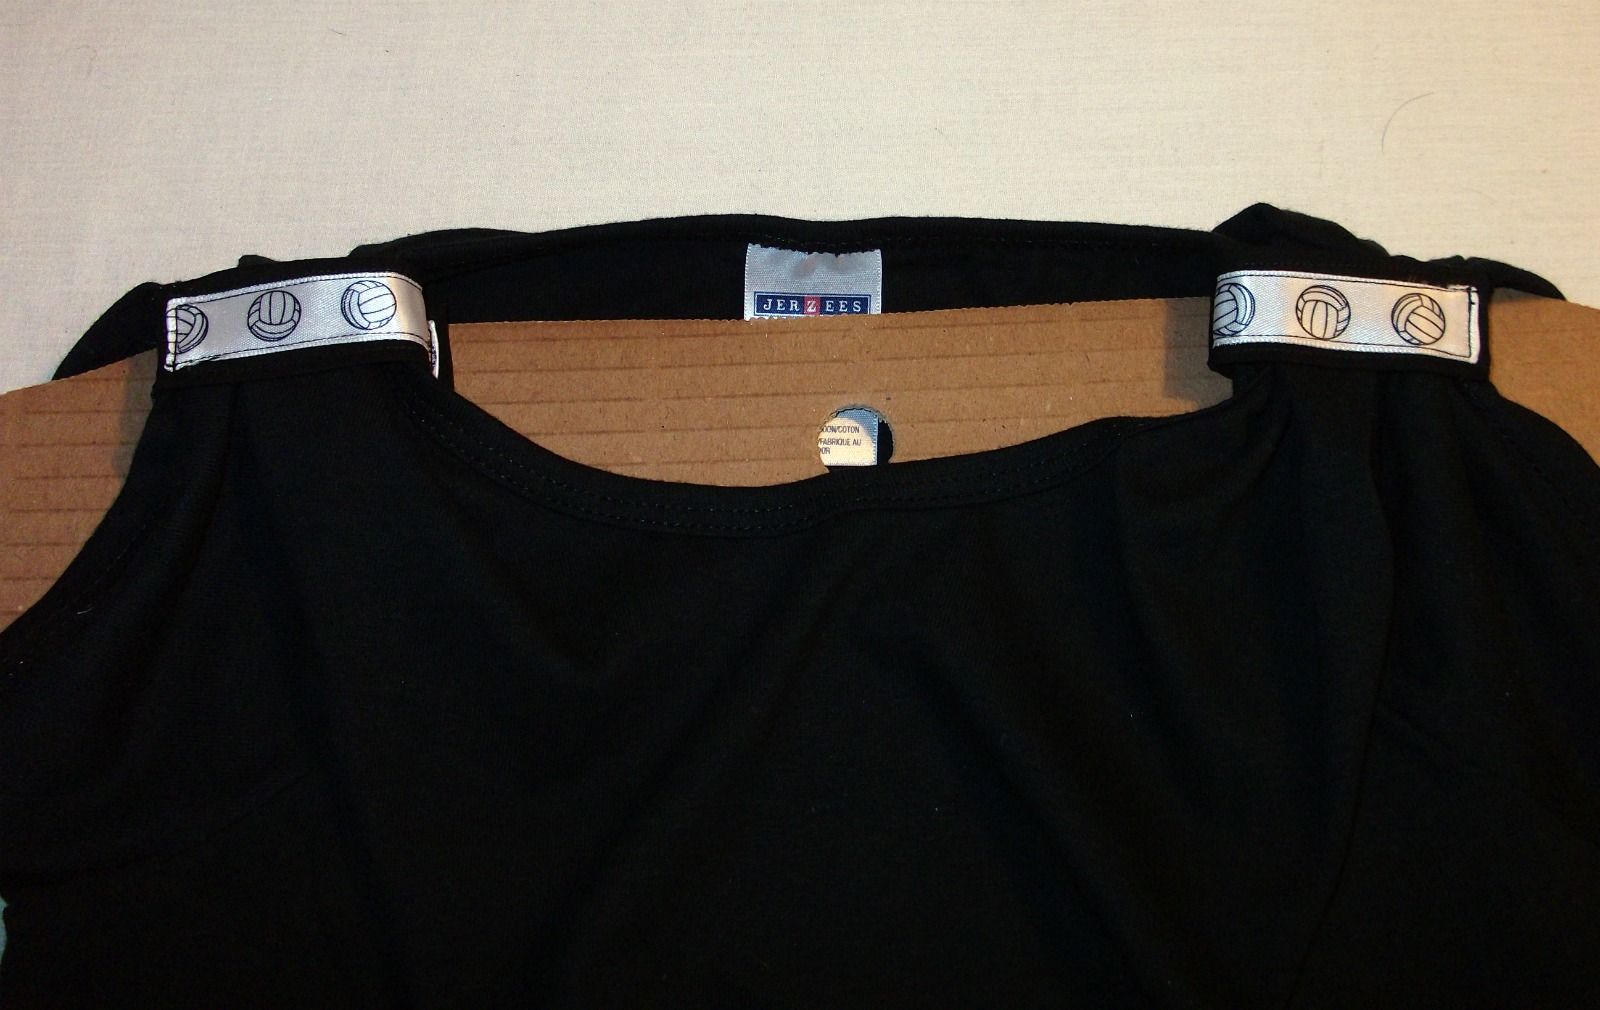
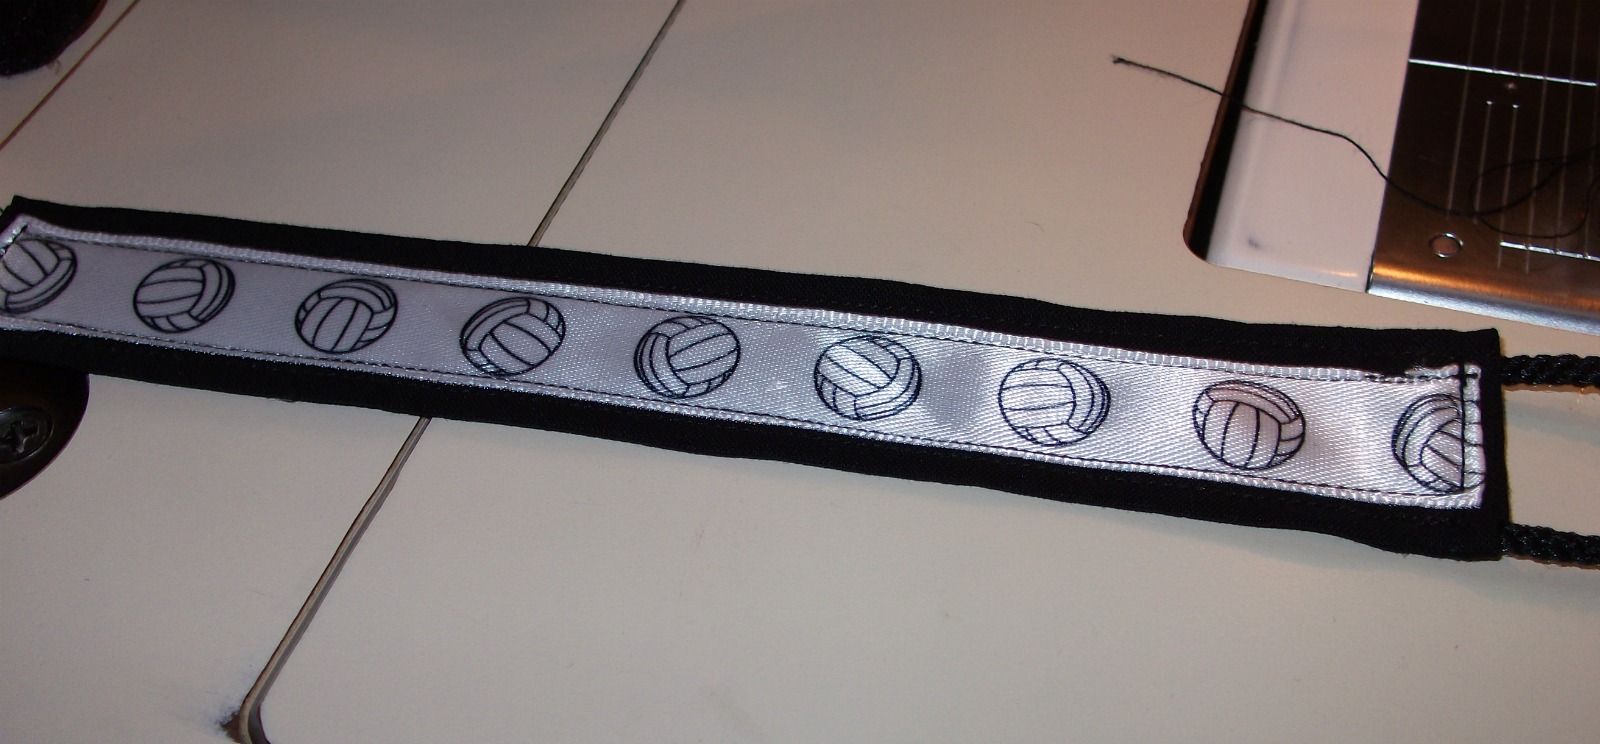
Jalynn plays volleyball and while at one of her games, I noticed the girls had their sleeves pulled up and held with a "scrunchie" (only word I can think of). I took a closer look at one of them and said to myself what we all say, "I can make that!".


The only hard part about the whole thing was finding volleyball ribbon.
I finally found it a scrapbooking store.


I kind of guessed at the size, but this one worked great.
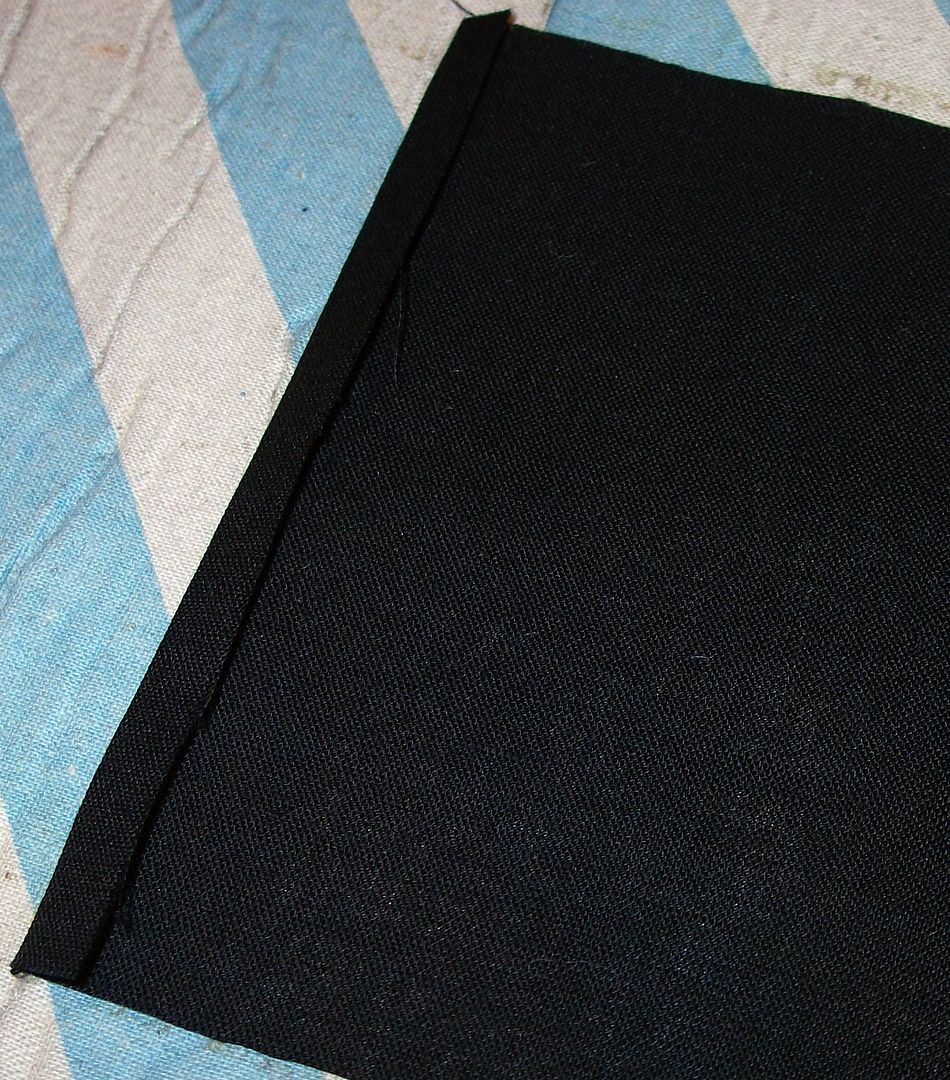
I cut a piece of fabric 8 1/2 x 4" and folded each short side over just a little.


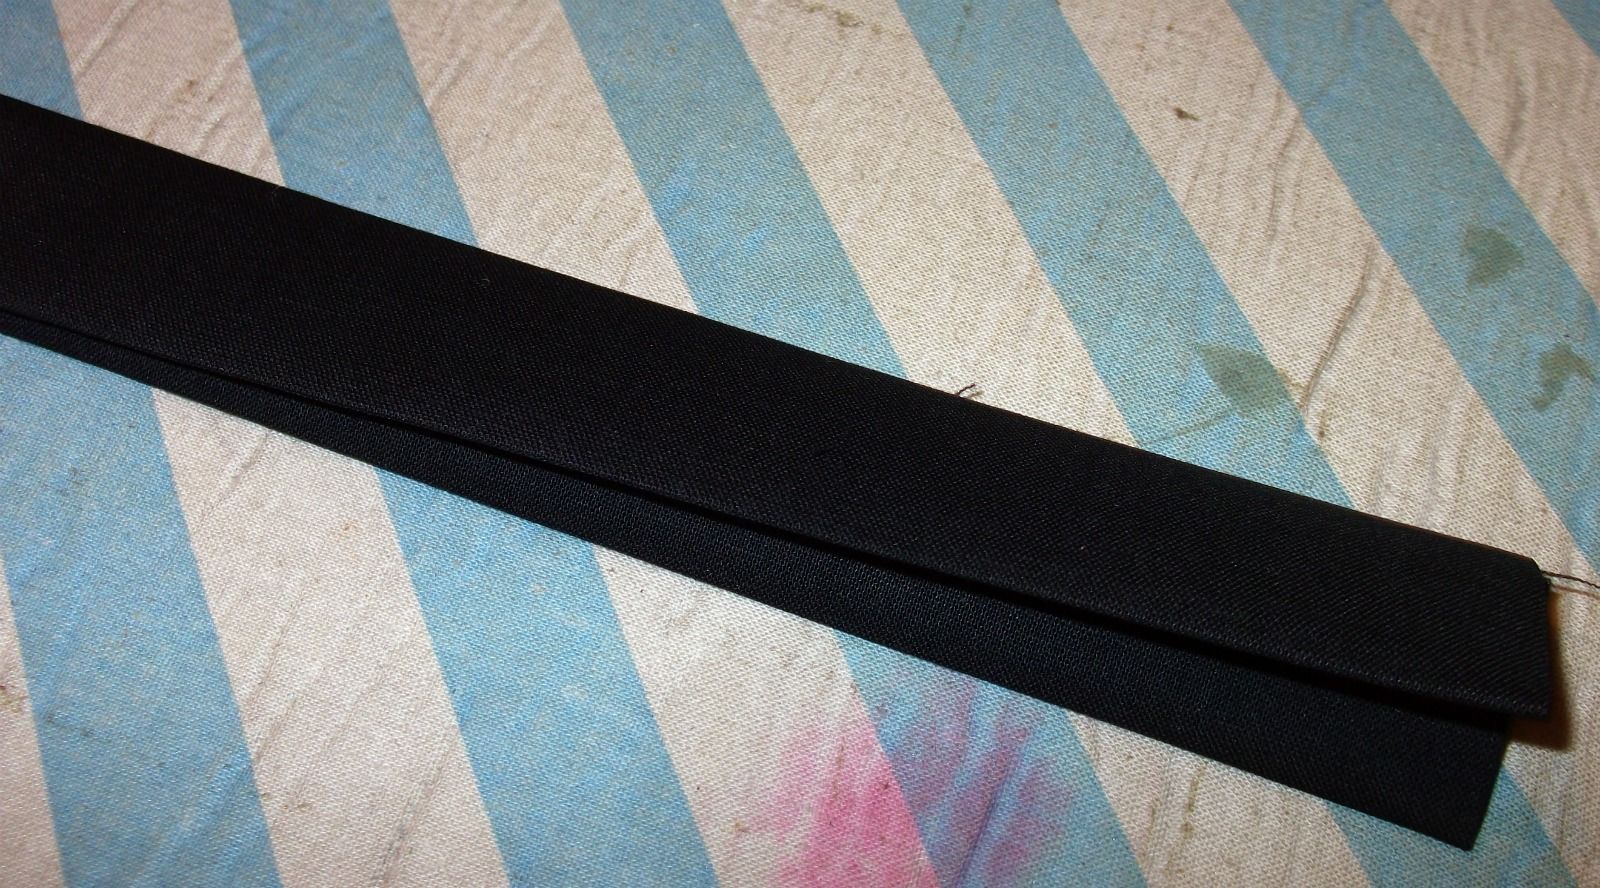
I did the old routine of folding in half and then folding the ends in to the middle and pressing.


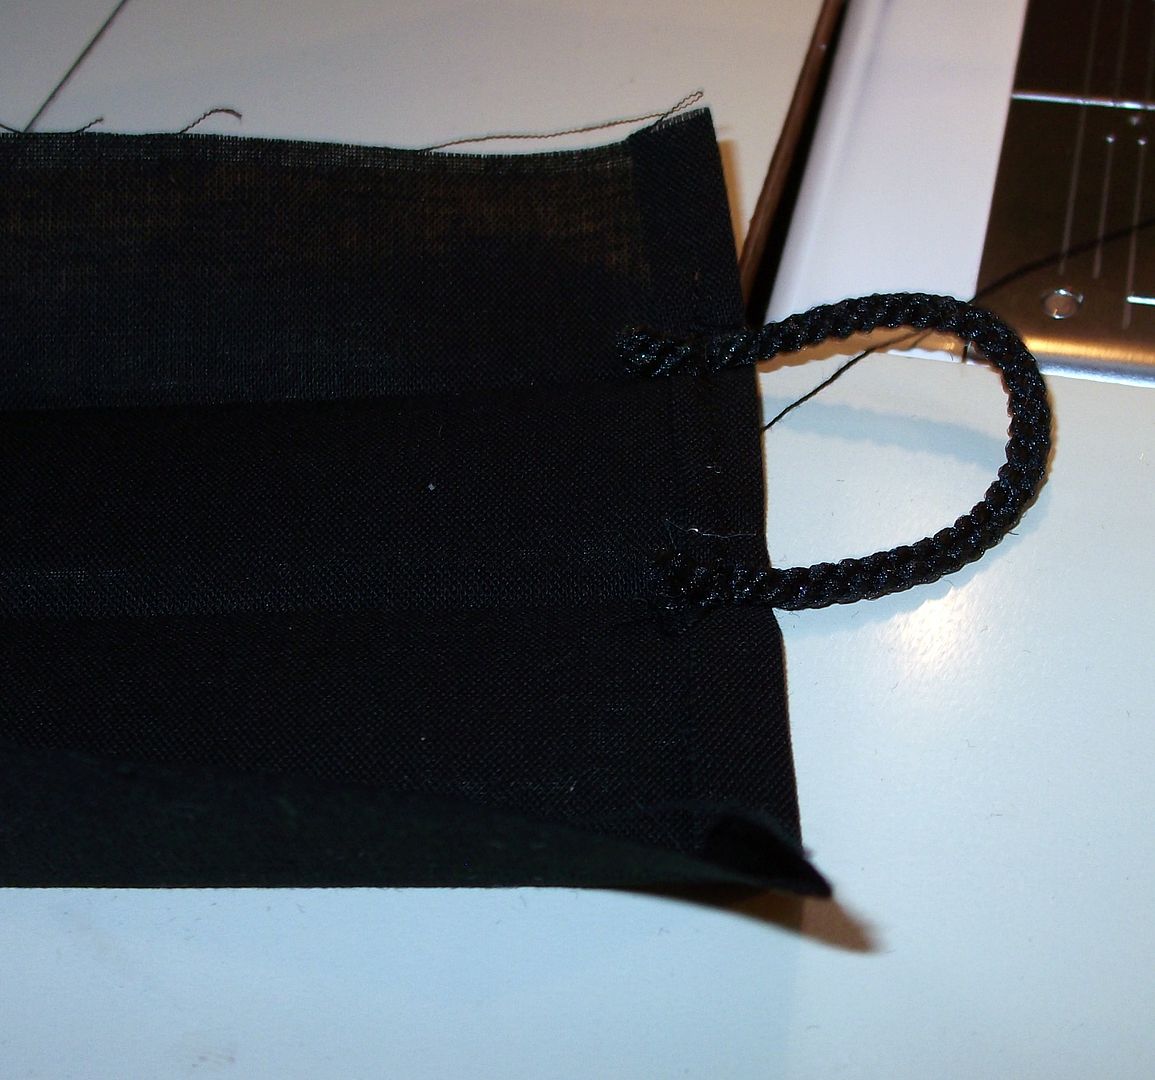
It's hard to see there, but I sewed my cording on the second section before I sewed it all together.
Again, guessed on the link of the cord, but I went with 2 1/2".


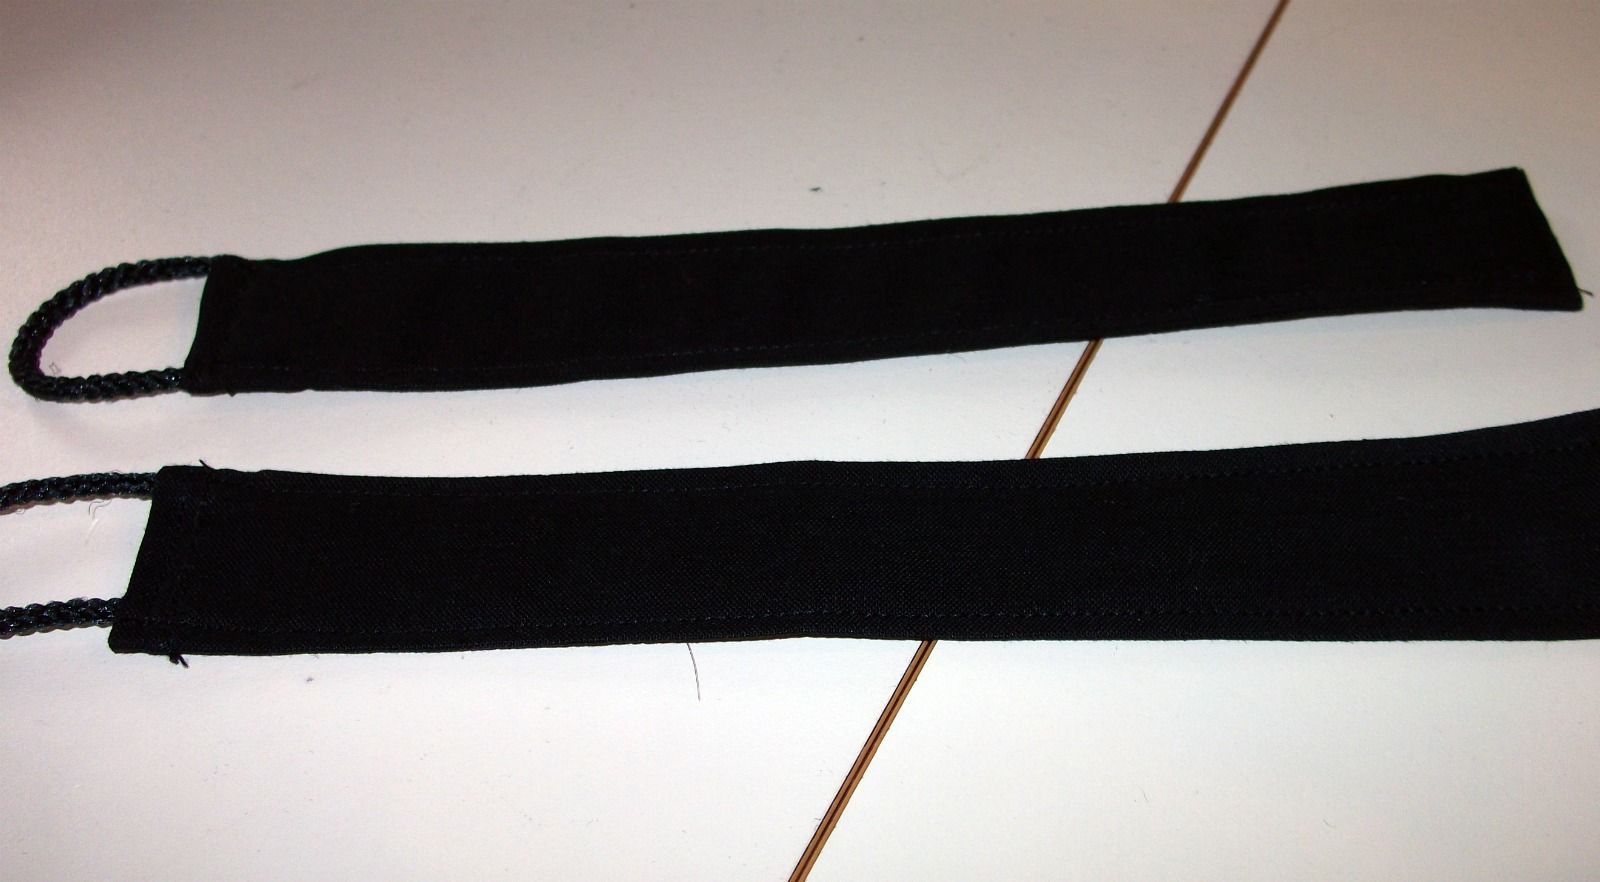
Sew the whole thing around the outside. Oops, forgot to say to be sure and cut 2 pieces!


Take your ribbon that you searched high and low for and topstitch on.


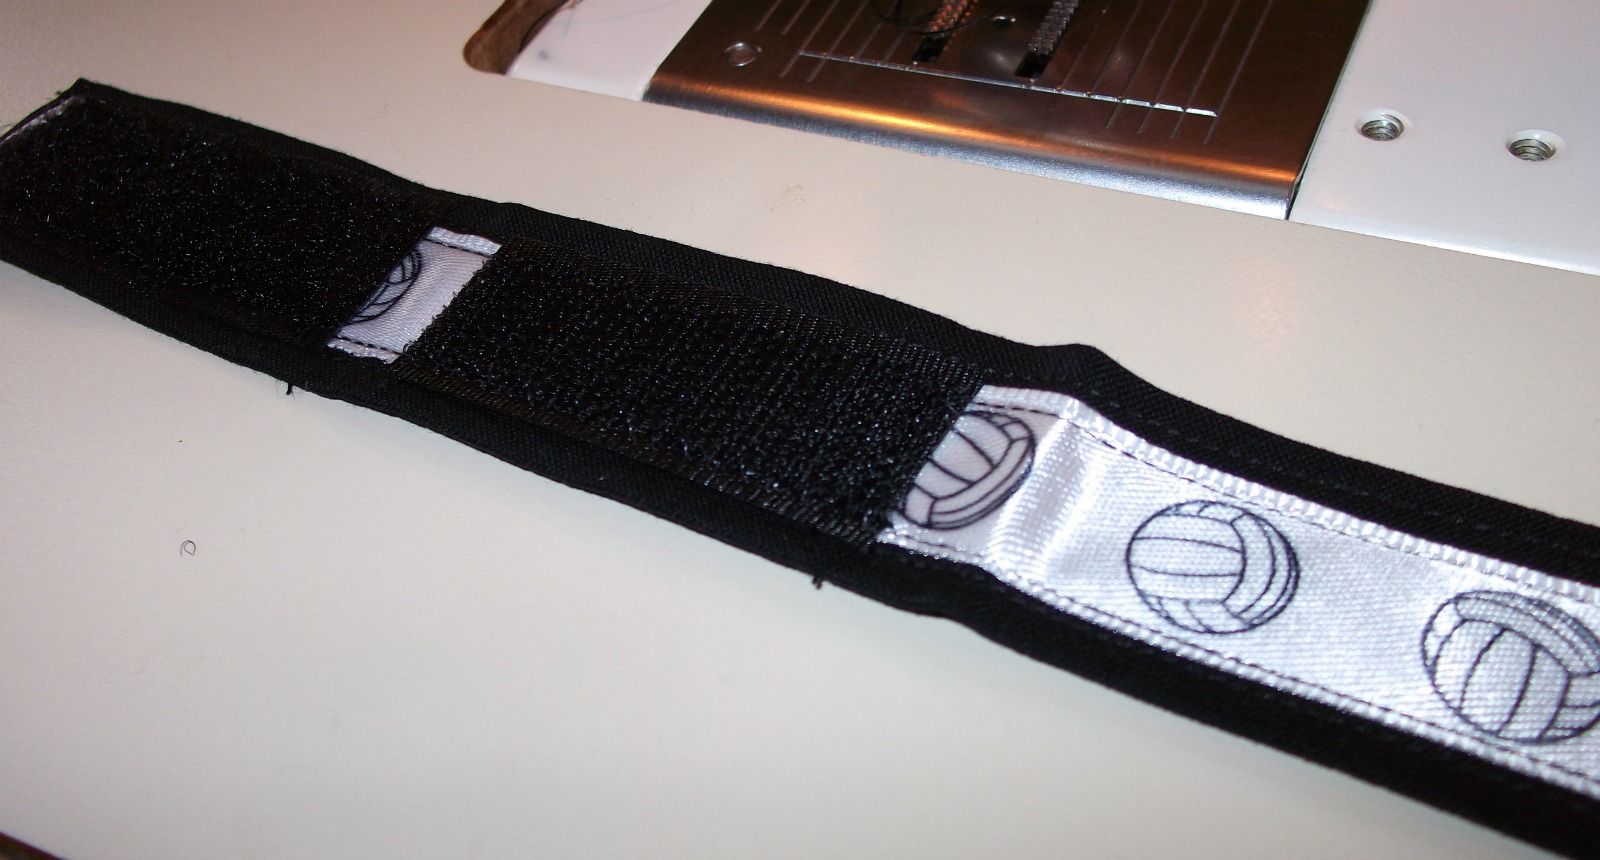
Okay, here's the confusing part. Iron the whole thing in thirds so you can see each section.
Sew your velcro on two of the sections on the same side. I had to wrap it like it was going to go on and then figure out where the velcro should go.


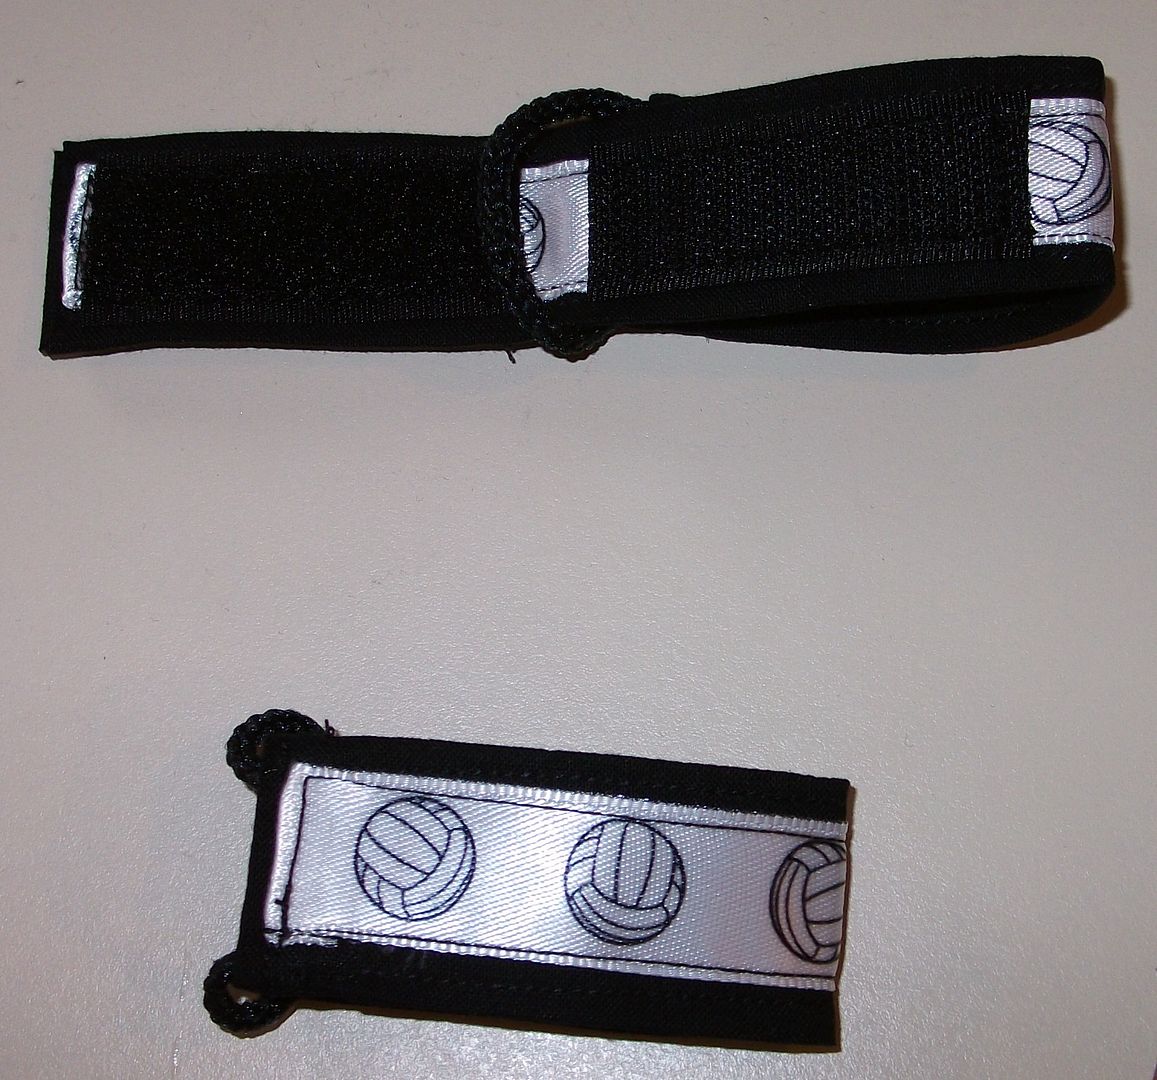
That's how it works. Pull your sleeve up and wrap the scrunchie around the sleeve and neck. Pull it through the cord, and fasten with the velcro.


I don't play volleyball but I'm going to make me a bunch of these in different colors.
No more tucking my sleeves in my bra straps at ballgames on hot summer days!

A Little Easter Basket

First off, I'm sorry for my meltdown last night. I was so frustrated with those pictures! How can something work just fine and then decide not to? I finally got the pictures to load this morning. I tried every size possible, but I think I ended up at 900x900 and it worked.

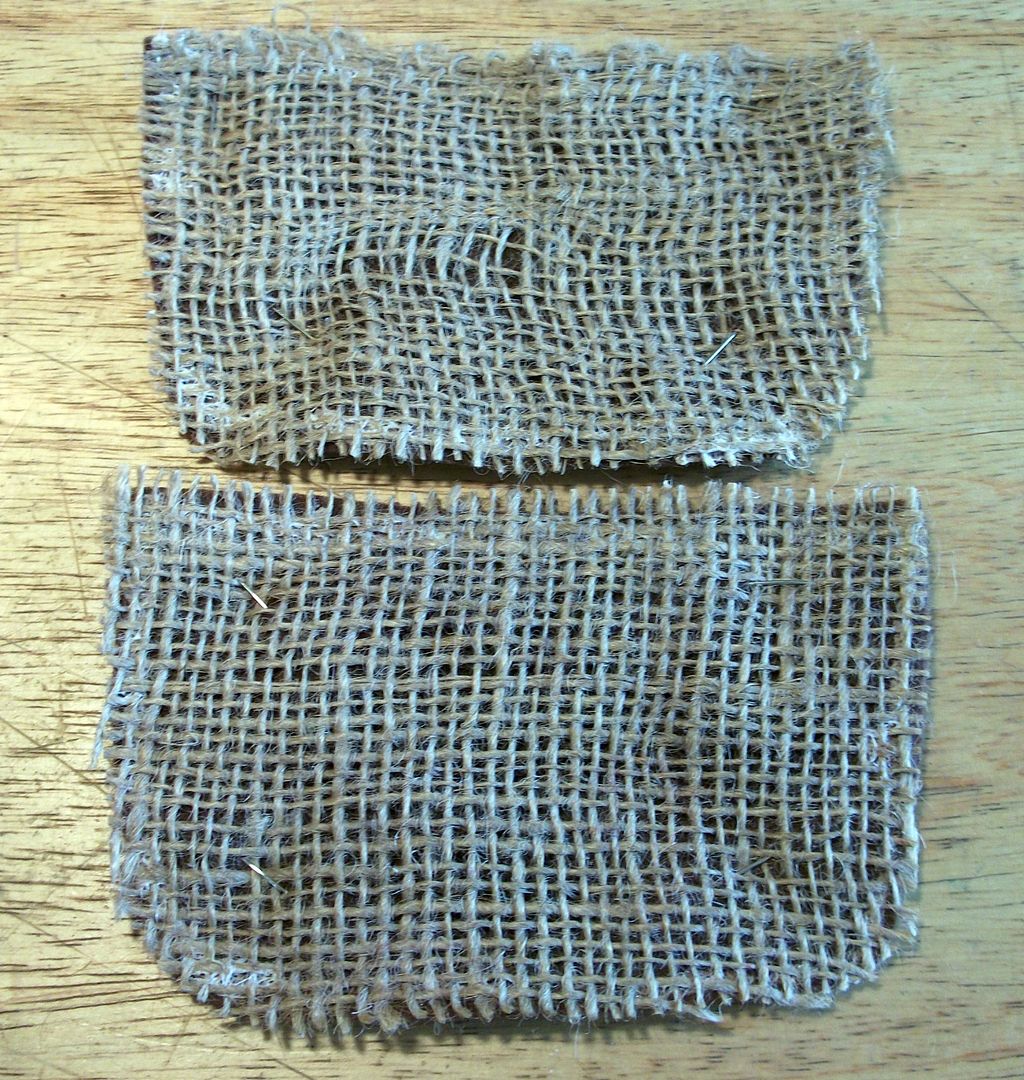
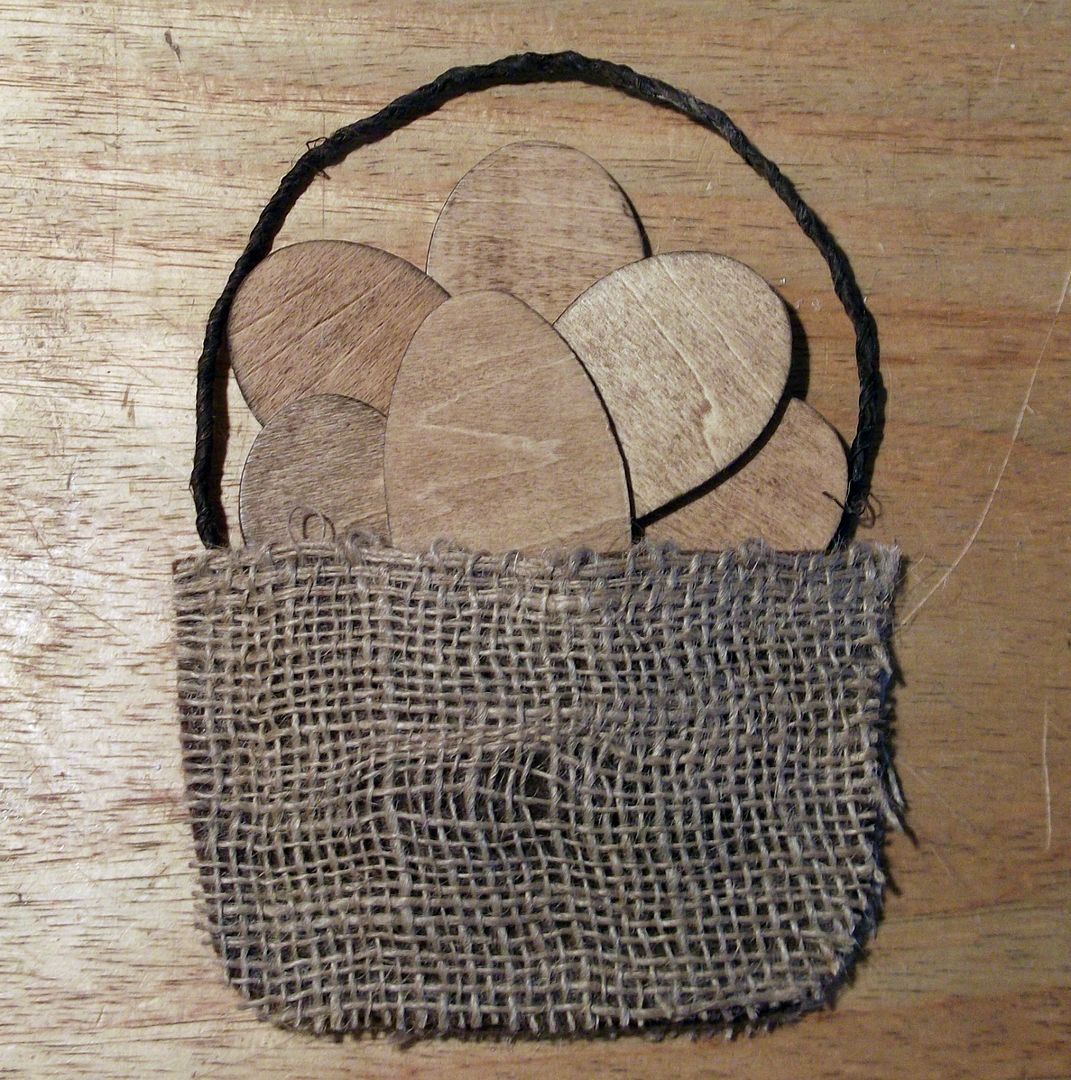
I still have that potato sack on my desk and keep cutting away on the back for small projects.


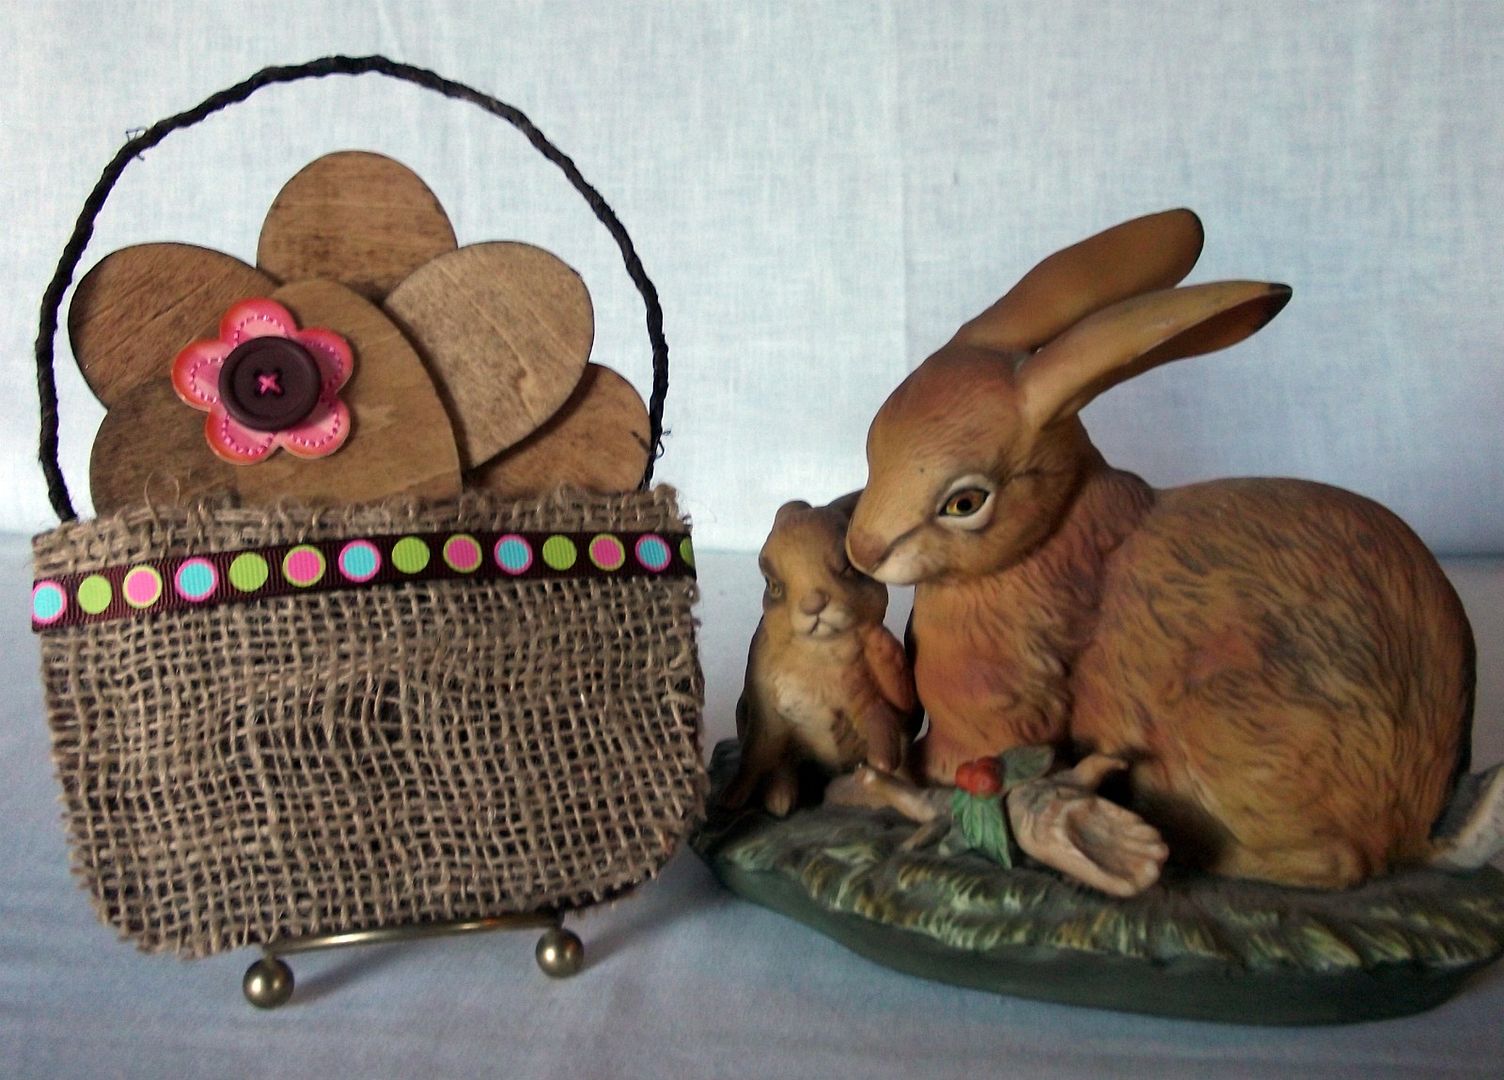
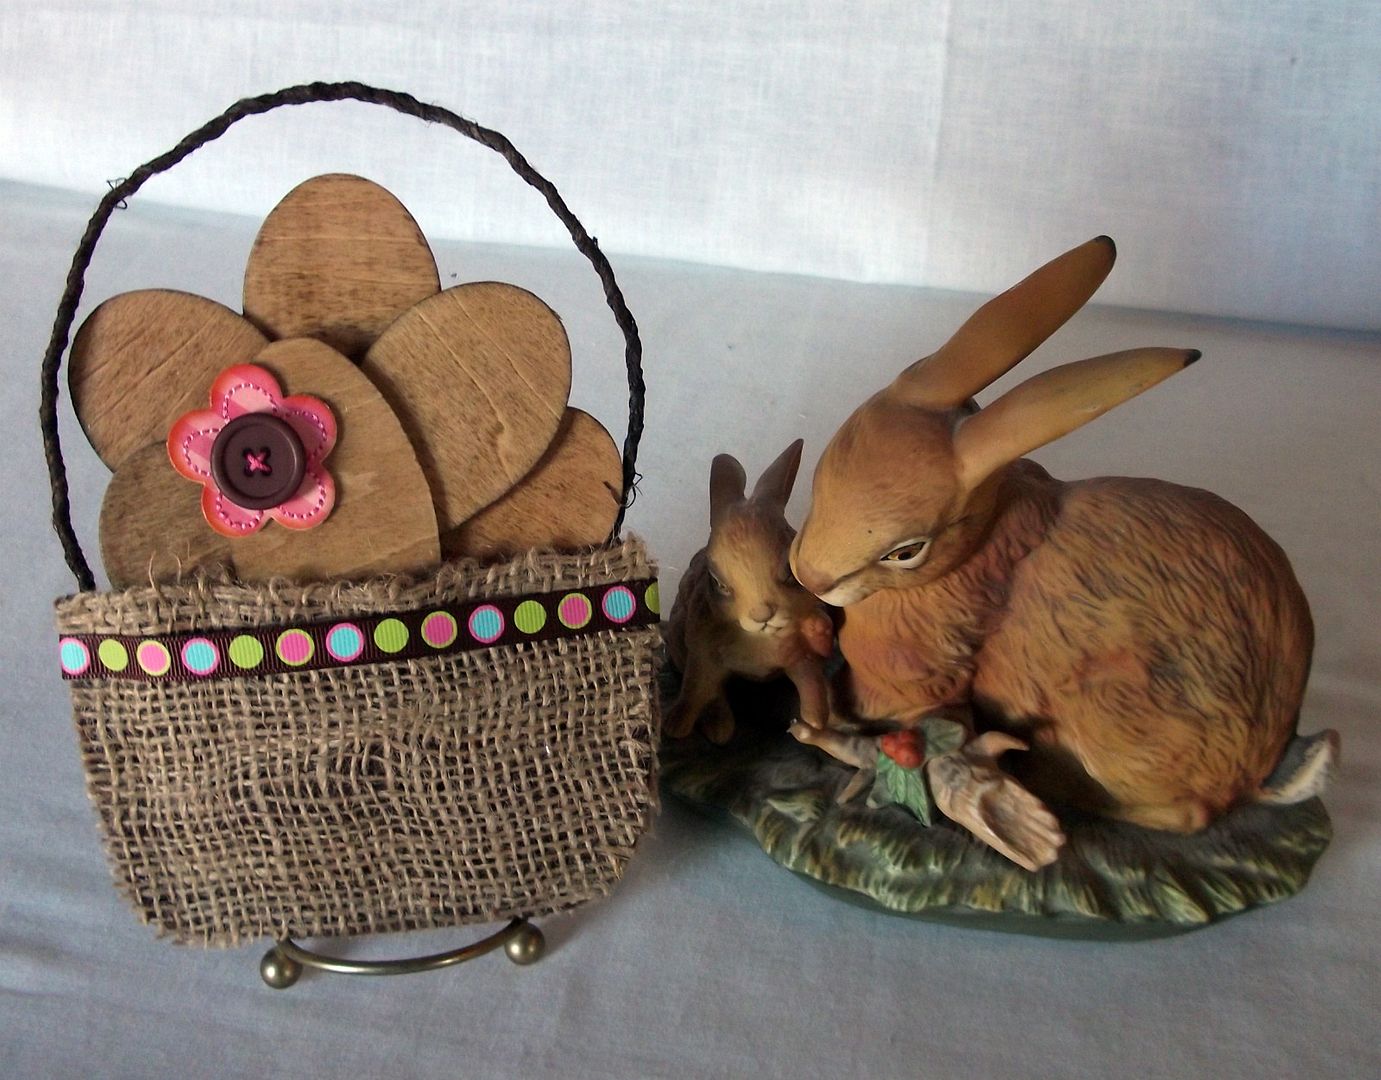
This started out to be just a magnet, but I love it with the bunnies.


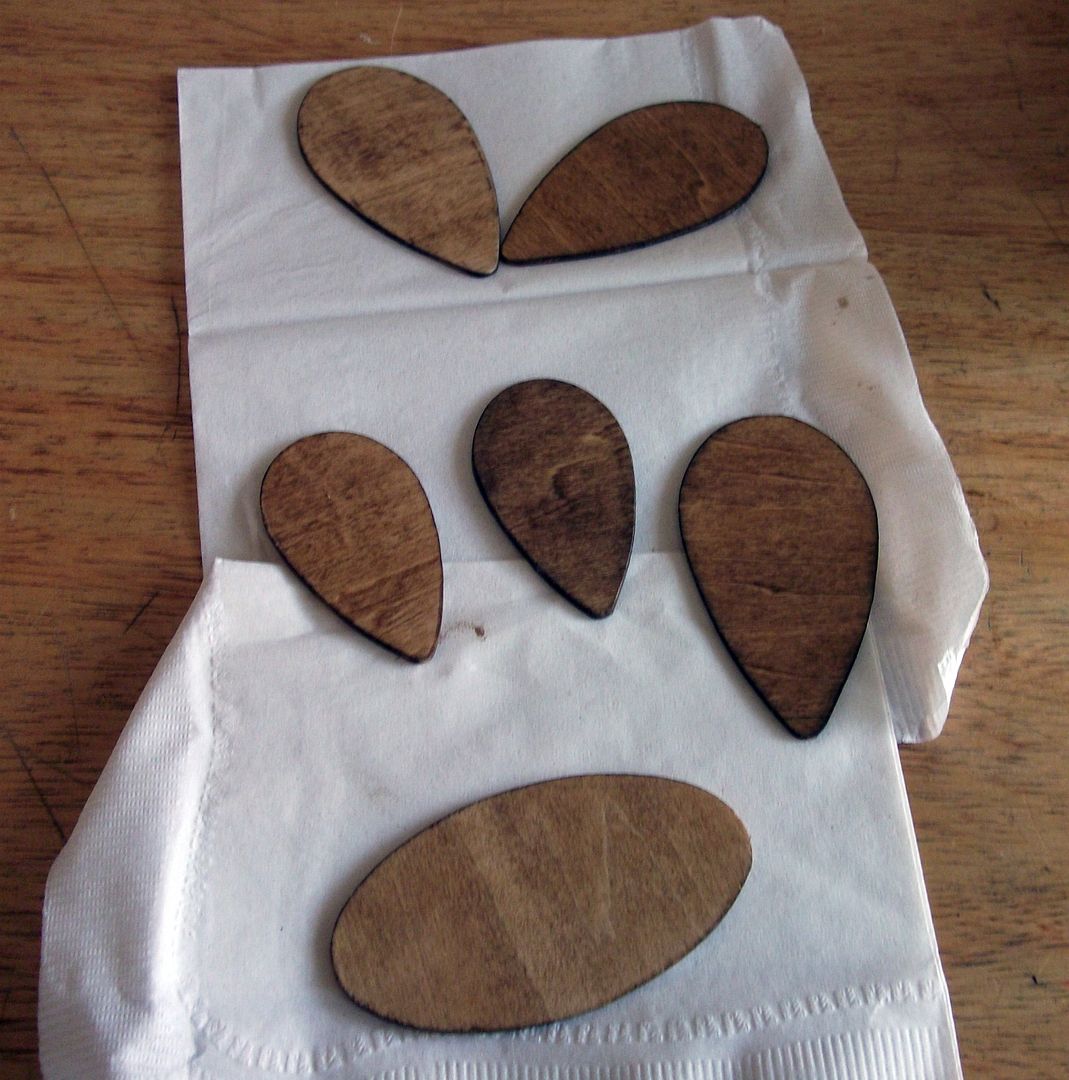
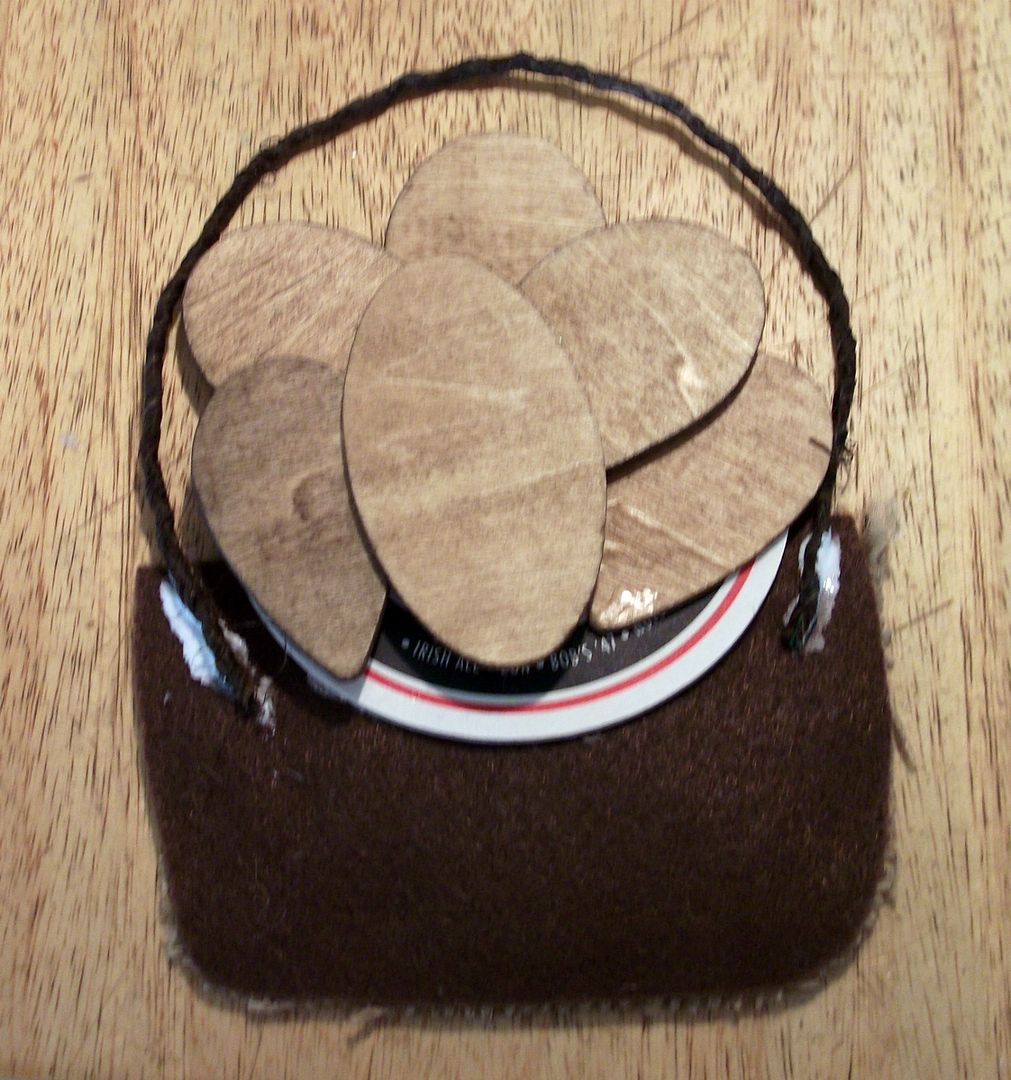
I stained the woodsies. They're kind of pointy for eggs, but I can hide that.


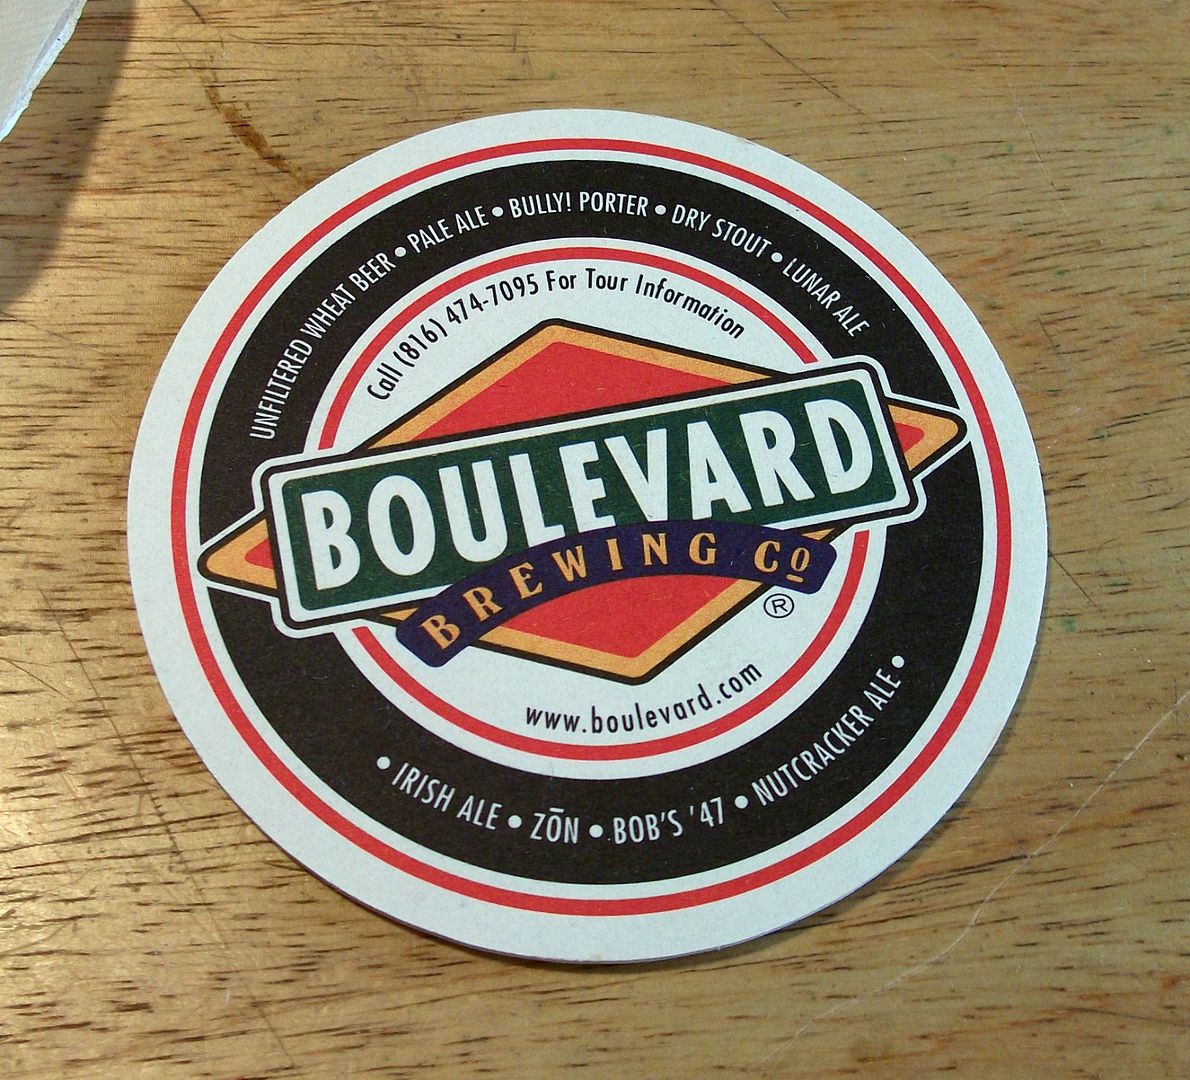
I've got a ton of those coasters and put this one to use. Don't ask me where I got all of them. I can't tell. Funny thing is, we don't even drink Boulevard beer!


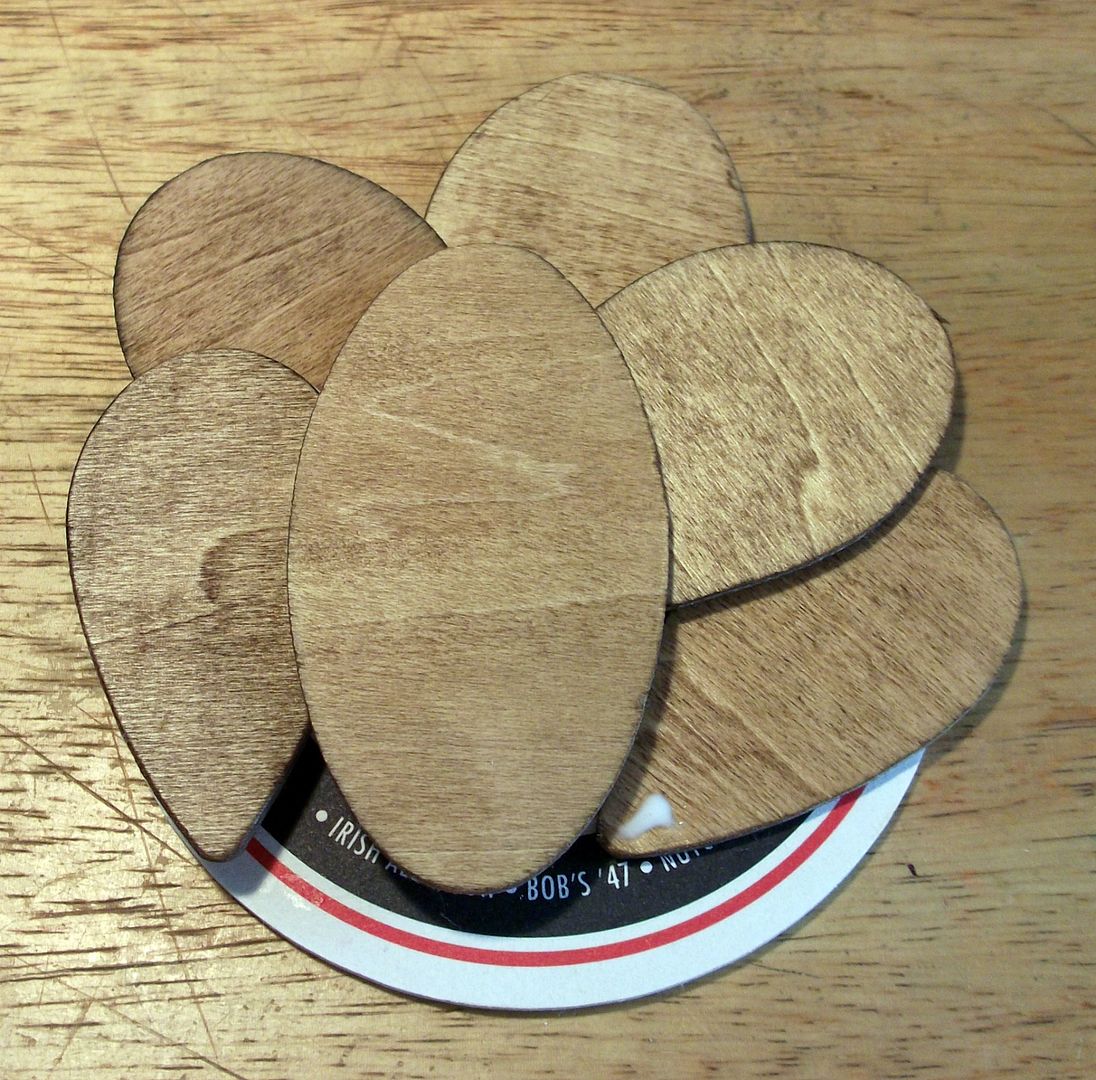
I stacked and glued my pointy eggs on the coaster.


I cut a basket shape out of the sack and glued it to brown felt for stability.


Then glued my eggs and a wire handle to one side of the basket.


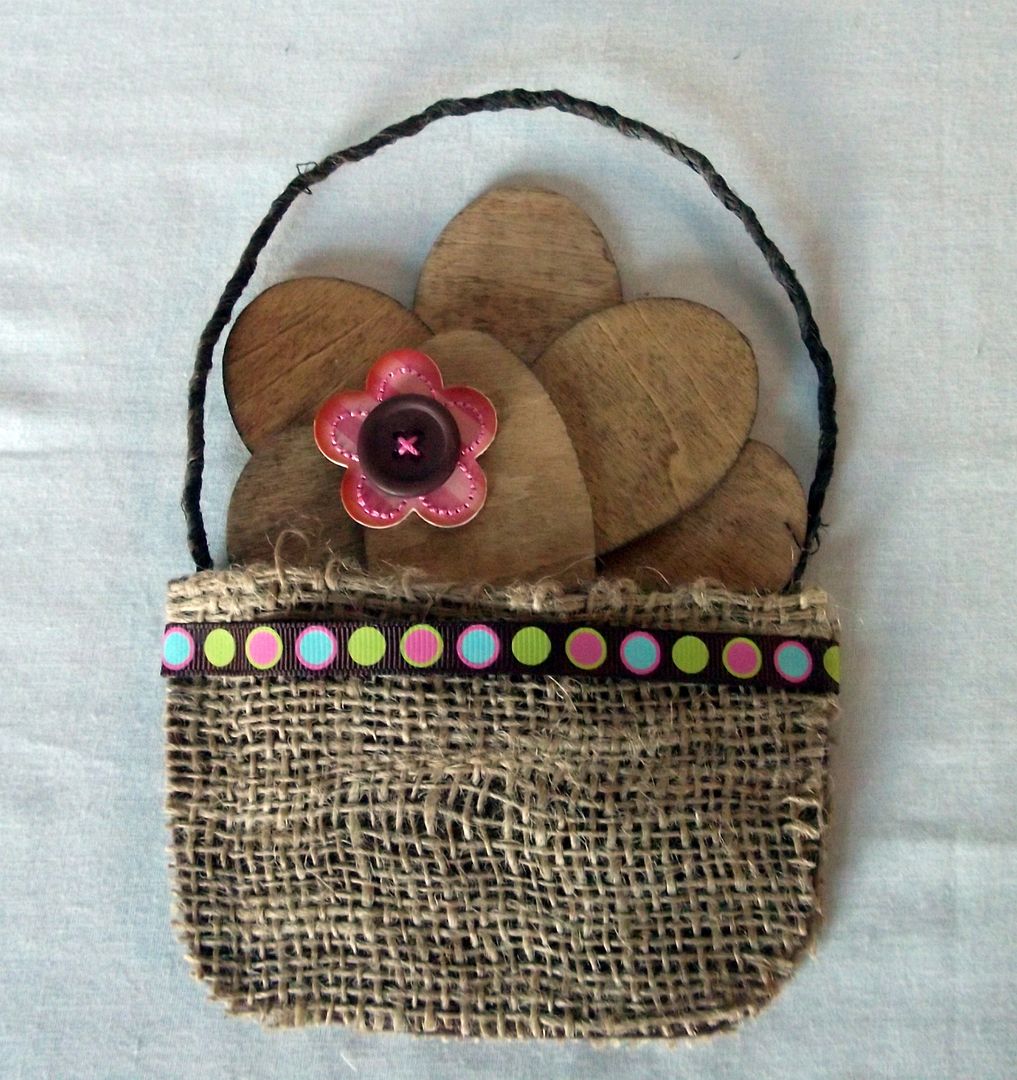
Glued the top on and then it needed a little something.


That's it. So simple.

Click HERE to see where I'll be partying at this week.

Book Purse

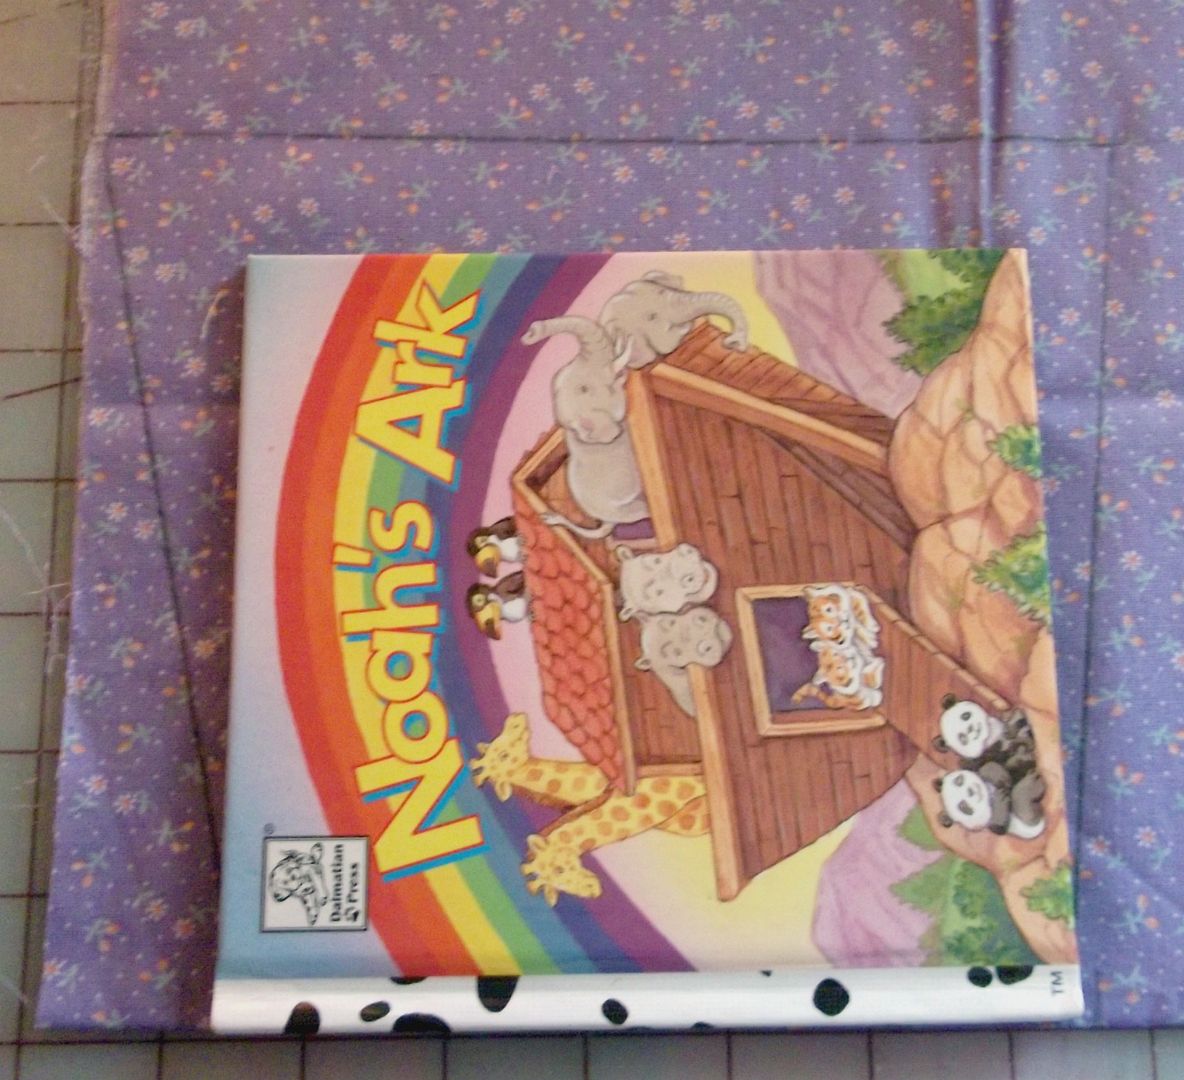
As I promised, here is how I made the purse out of a book for Pat the Bunny. Before we start, we all need to tell Greg that I need a new craft room with more light! The pictures are bad, but you'll get the idea.


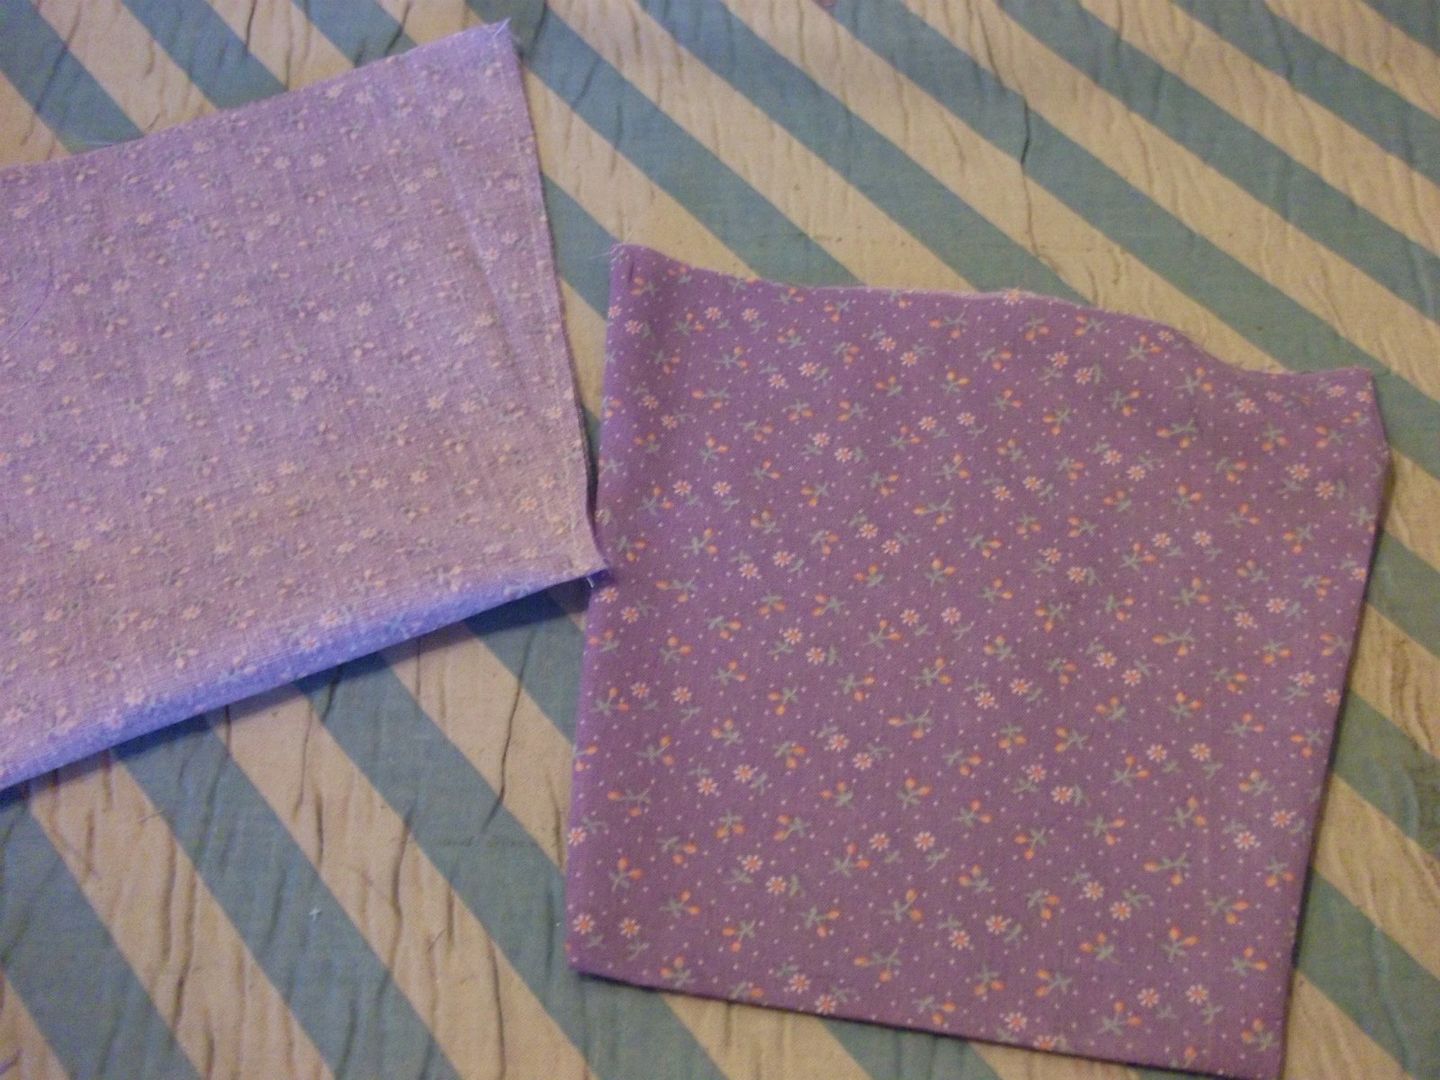
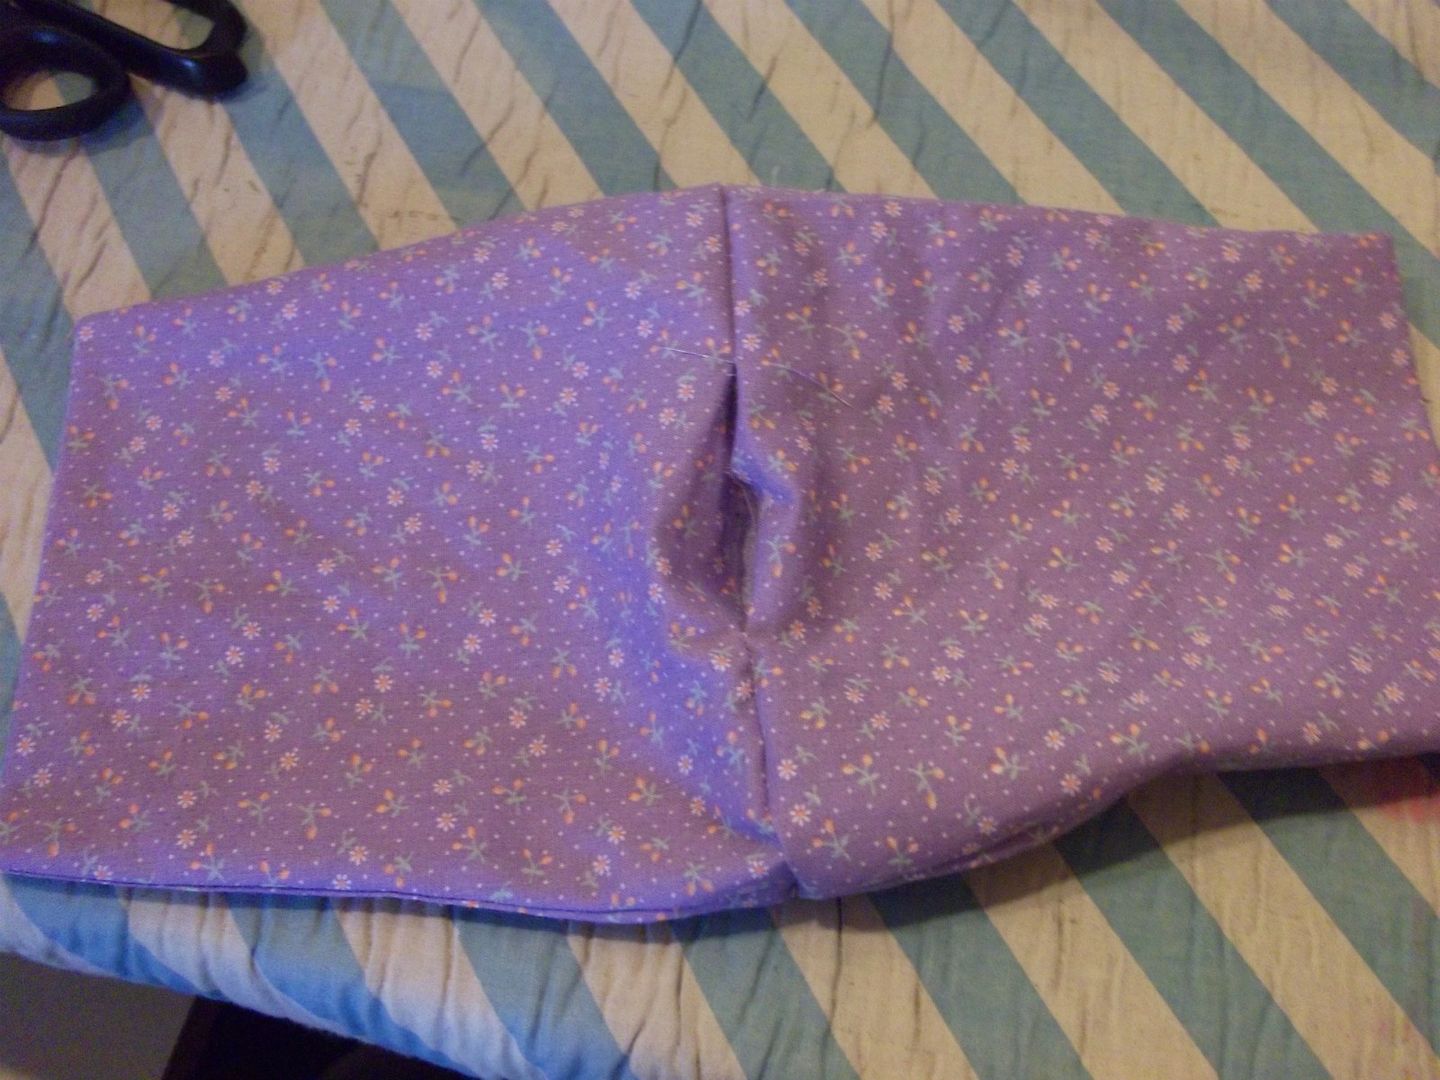
Lay your book that you want to use on the folded side of the fabric. Draw a line from the bottom of the book up to a little over the top getting wider as you go. I know my sides aren't even in the picture. I saw it after the picture was taken and fixed it. Just be even on both sides. Cut 2 of these.


Fold both pieces (right sides in) and sew up sides.


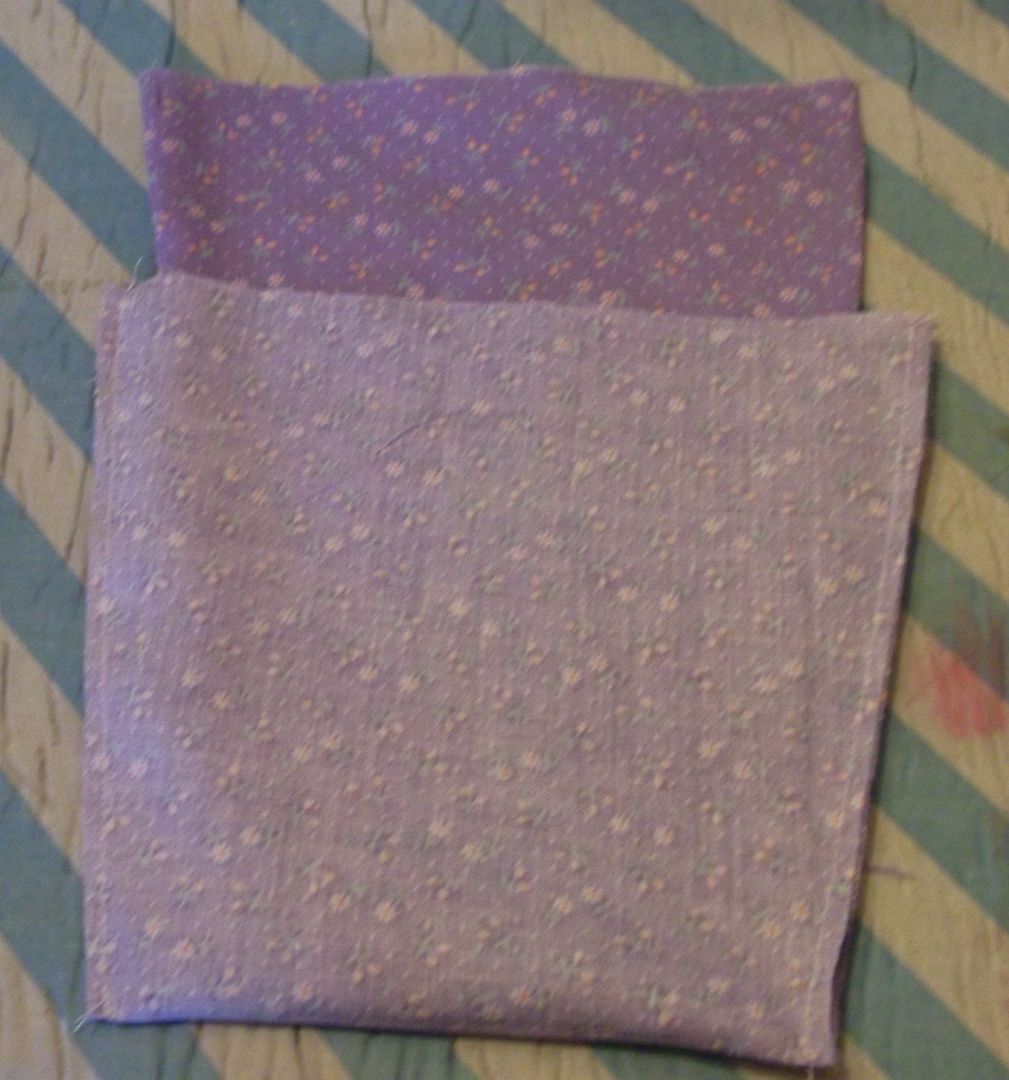
Turn one of the two you've sewn, right out side out and press.


Then insert the right side out one into the wrong side out piece (right sides together).


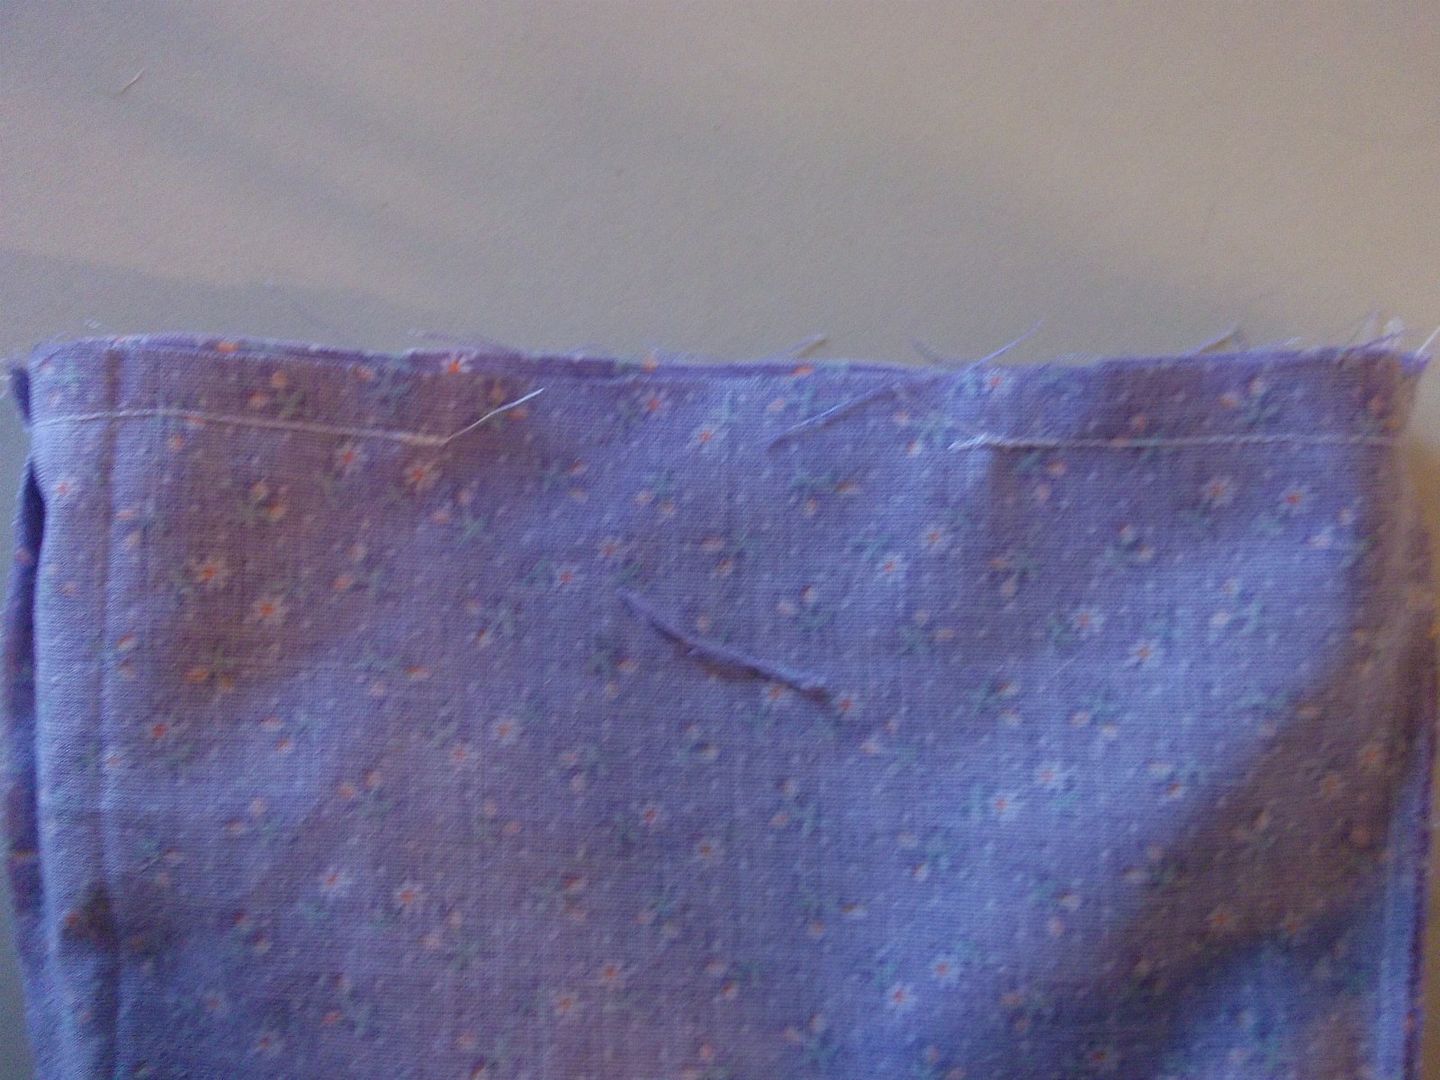
Sew the two pieces together at the top and be sure to leave an opening for turning.


Pull everything through the opening you left.


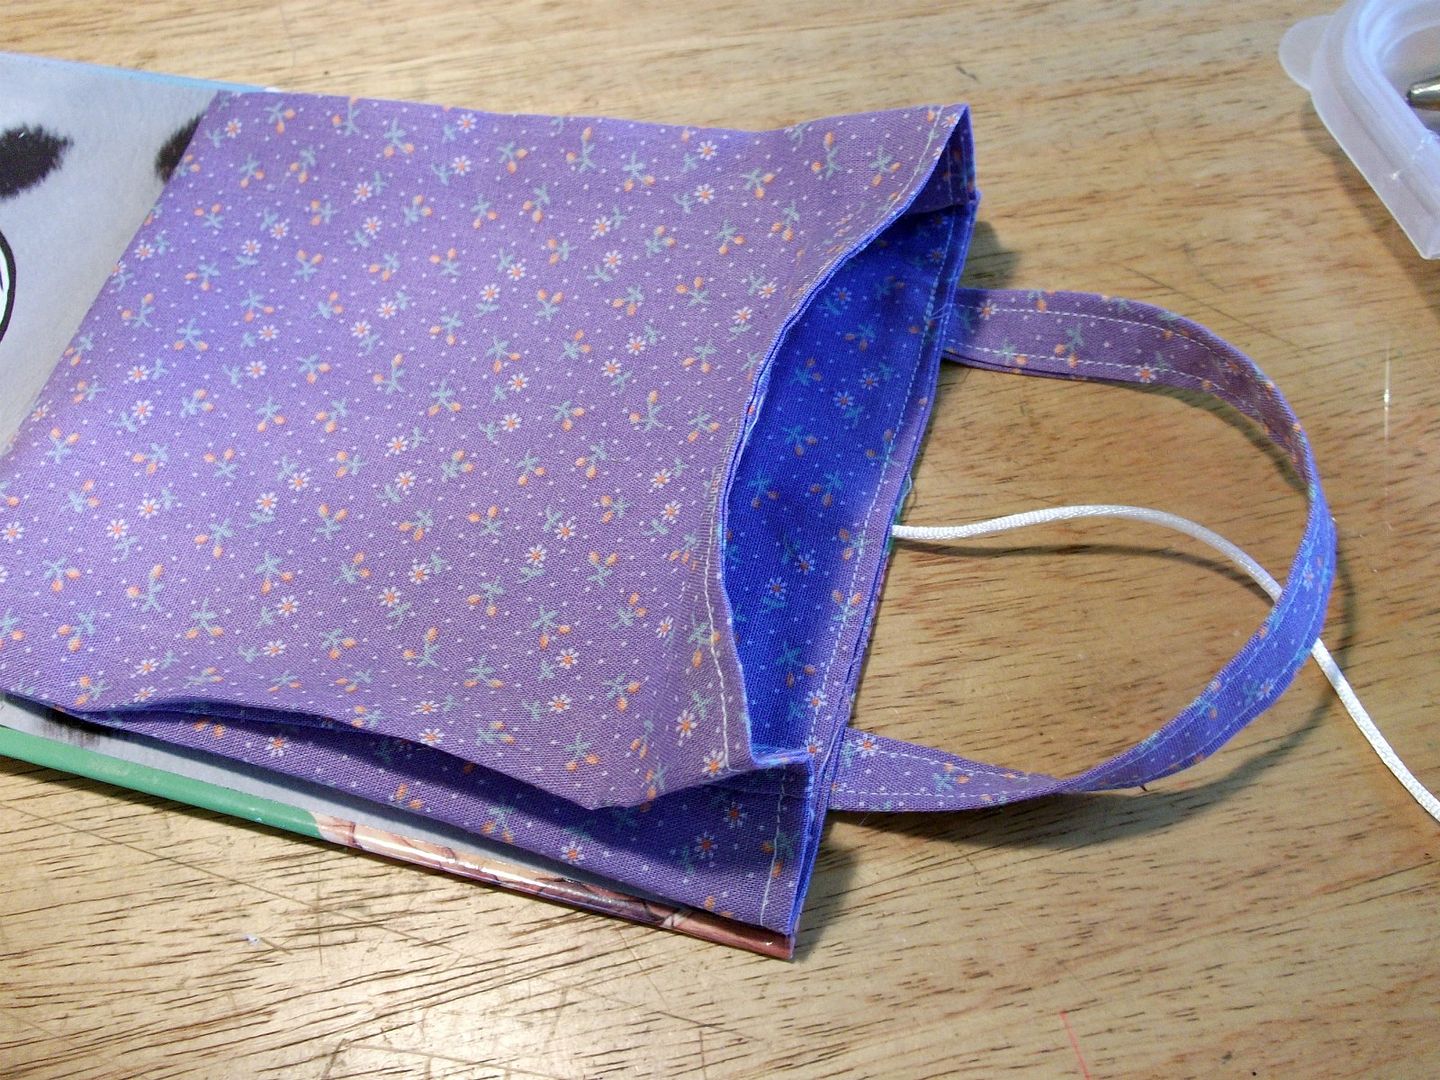
Once you get the lining down in the purse, top stitch across the top making sure you catch your opening.


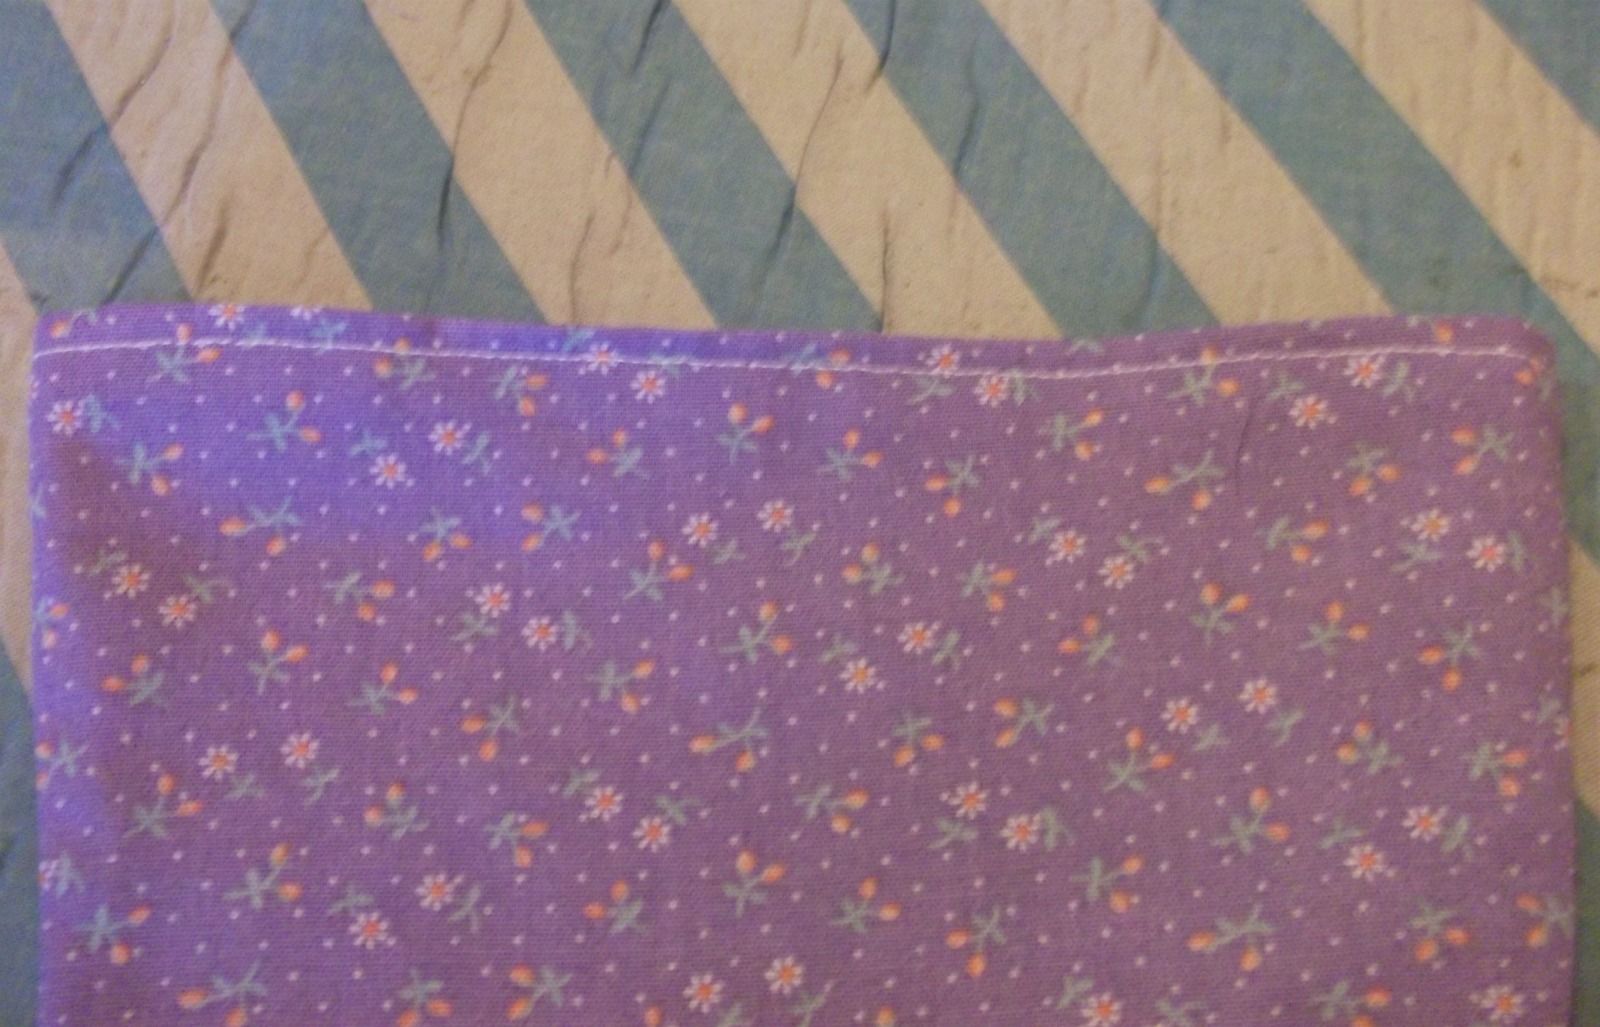
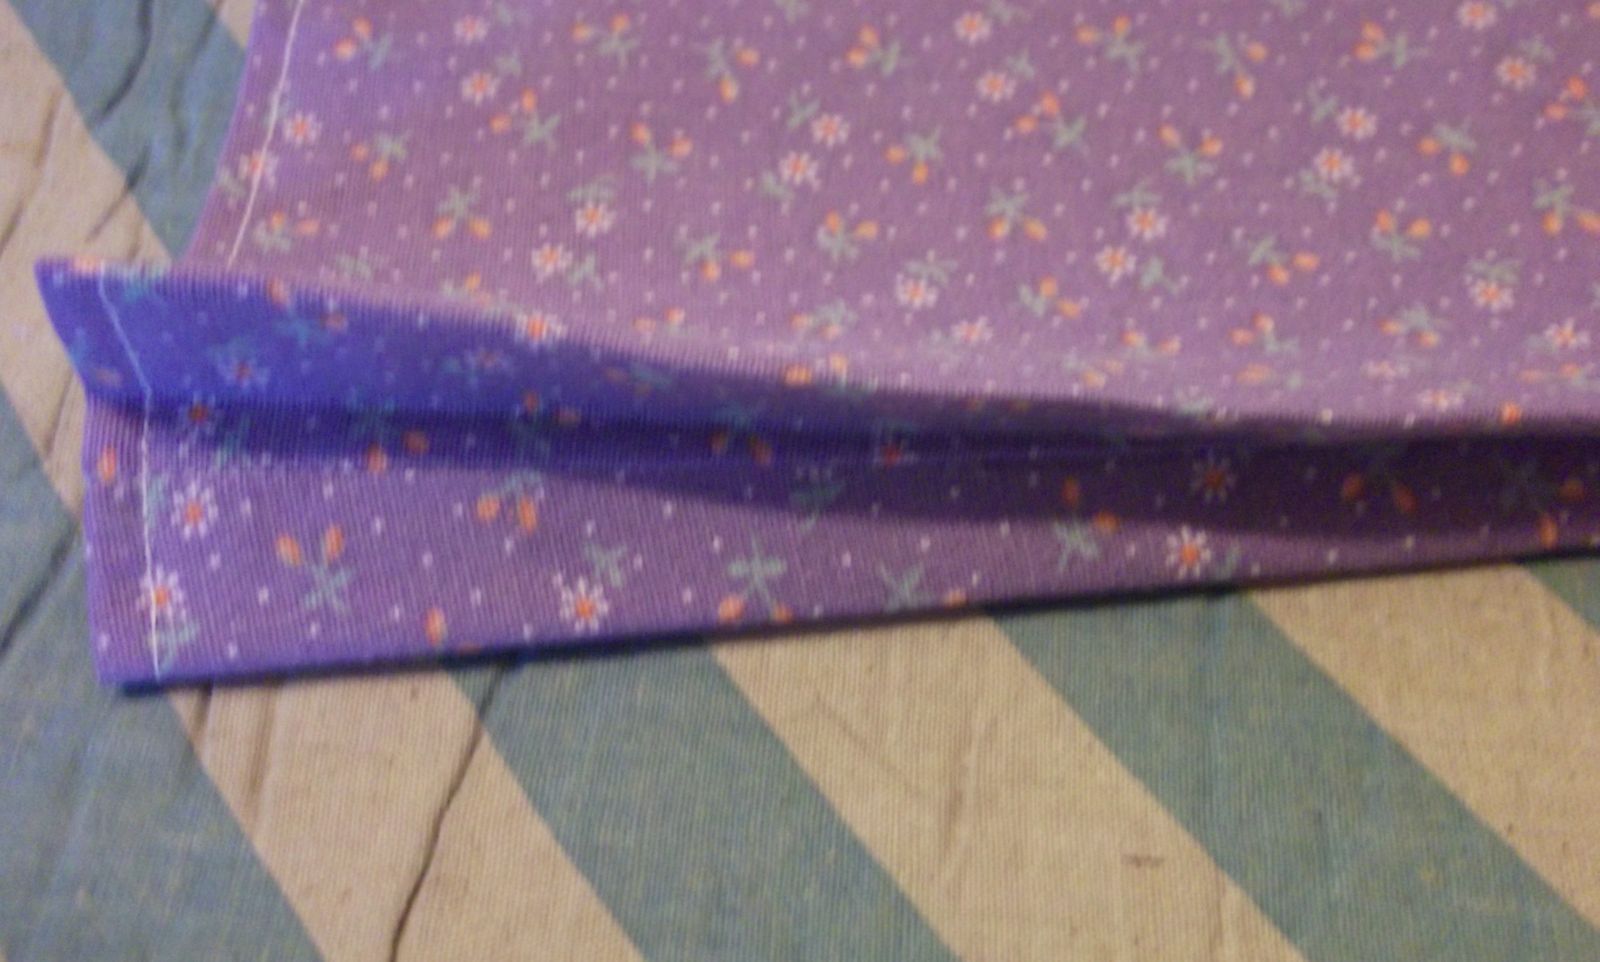
Once it's all top stitched, iron and turn the sides in to form a fold.


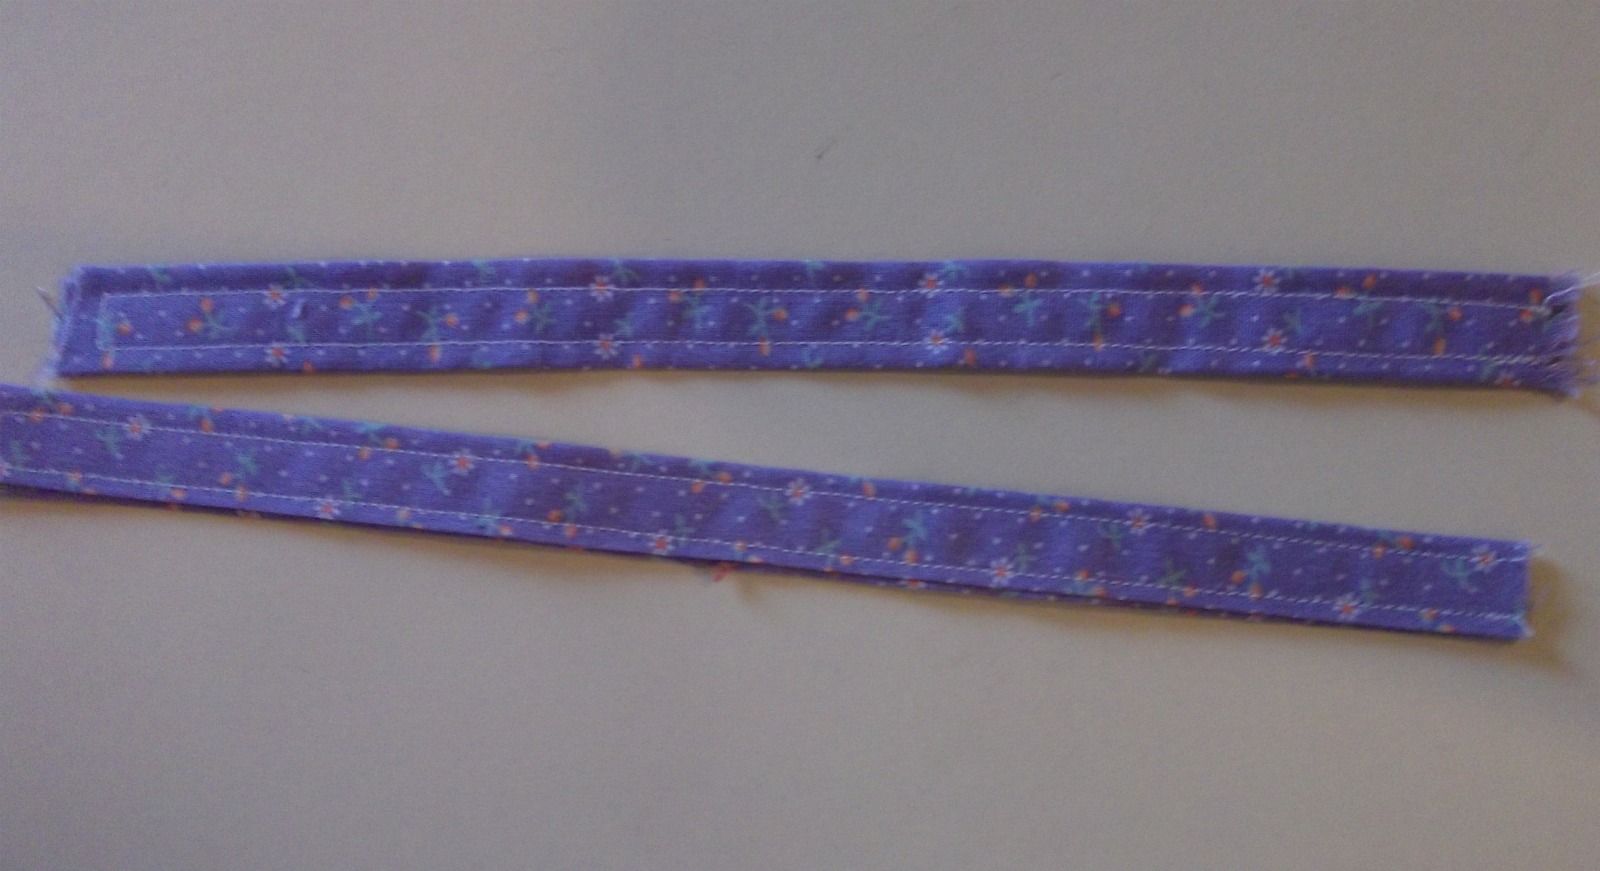
For the handles, I just kind of eye-balled the length and made them a little wider than 2". I cut 2 and ironed them in half and then brought the sides to the middle and ironed.


Fold both sides over.


Top stitch after it's folded.


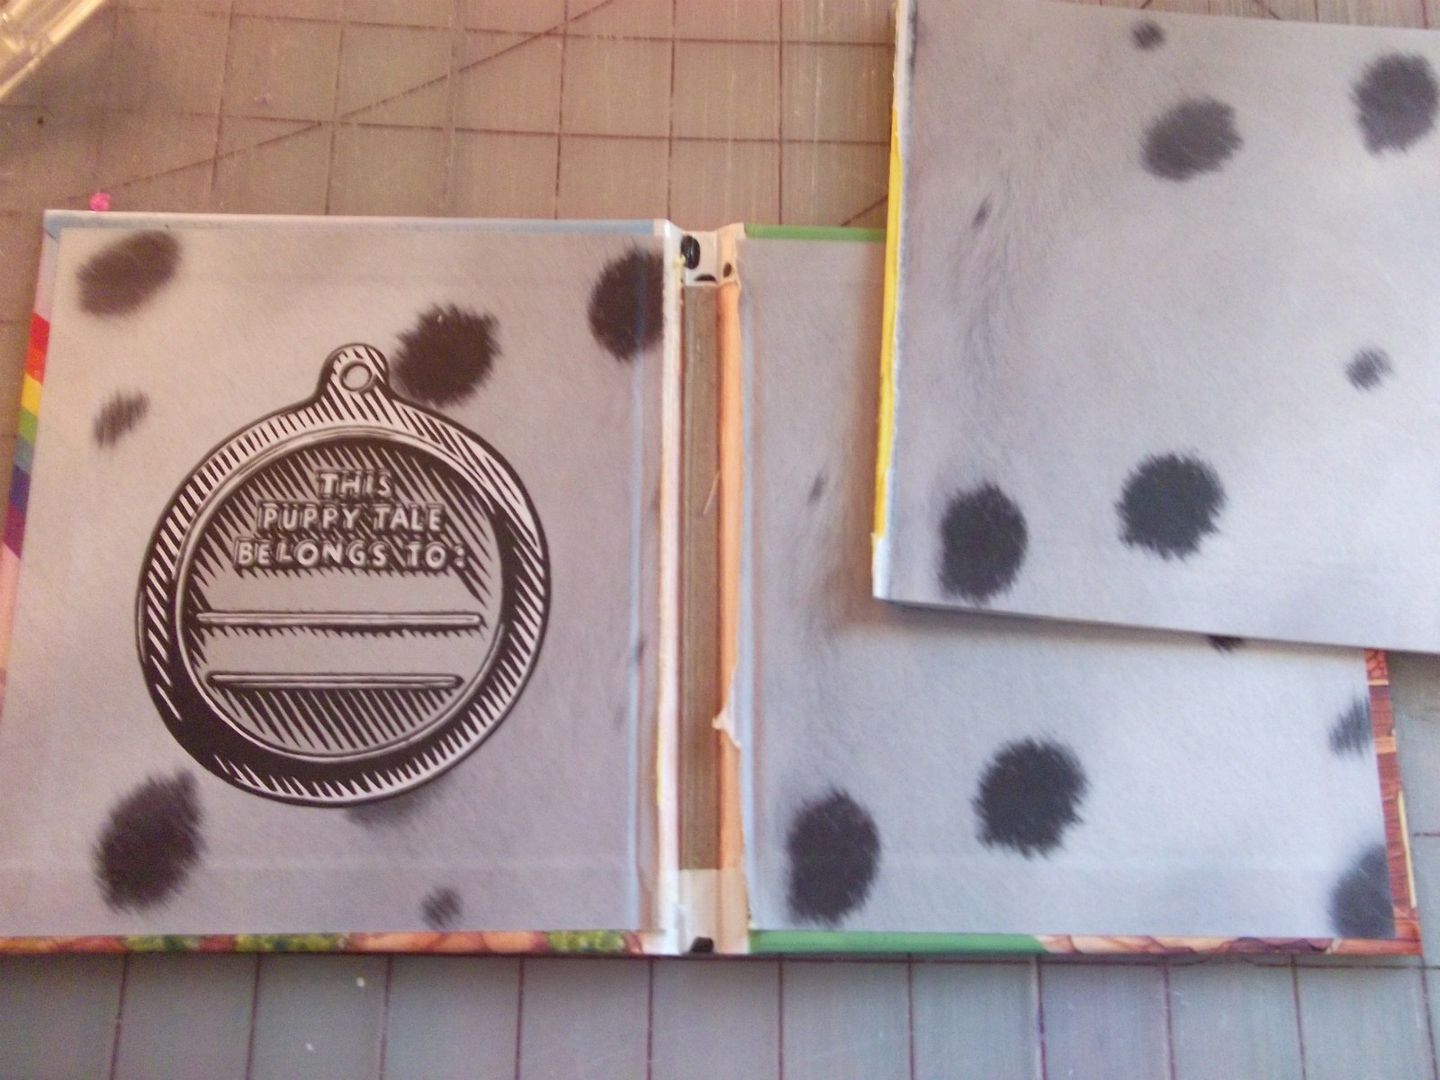
That's all done, now for the easy part! Cut the pages out of the book you're working with.


Take your handles and hot glue to the inside. I used ribbon or cord and glued in the middle to tie.


To put the purse in, I start on one side and glue the top first. Then I do the sides. Flip it over and do the same order on the other side.


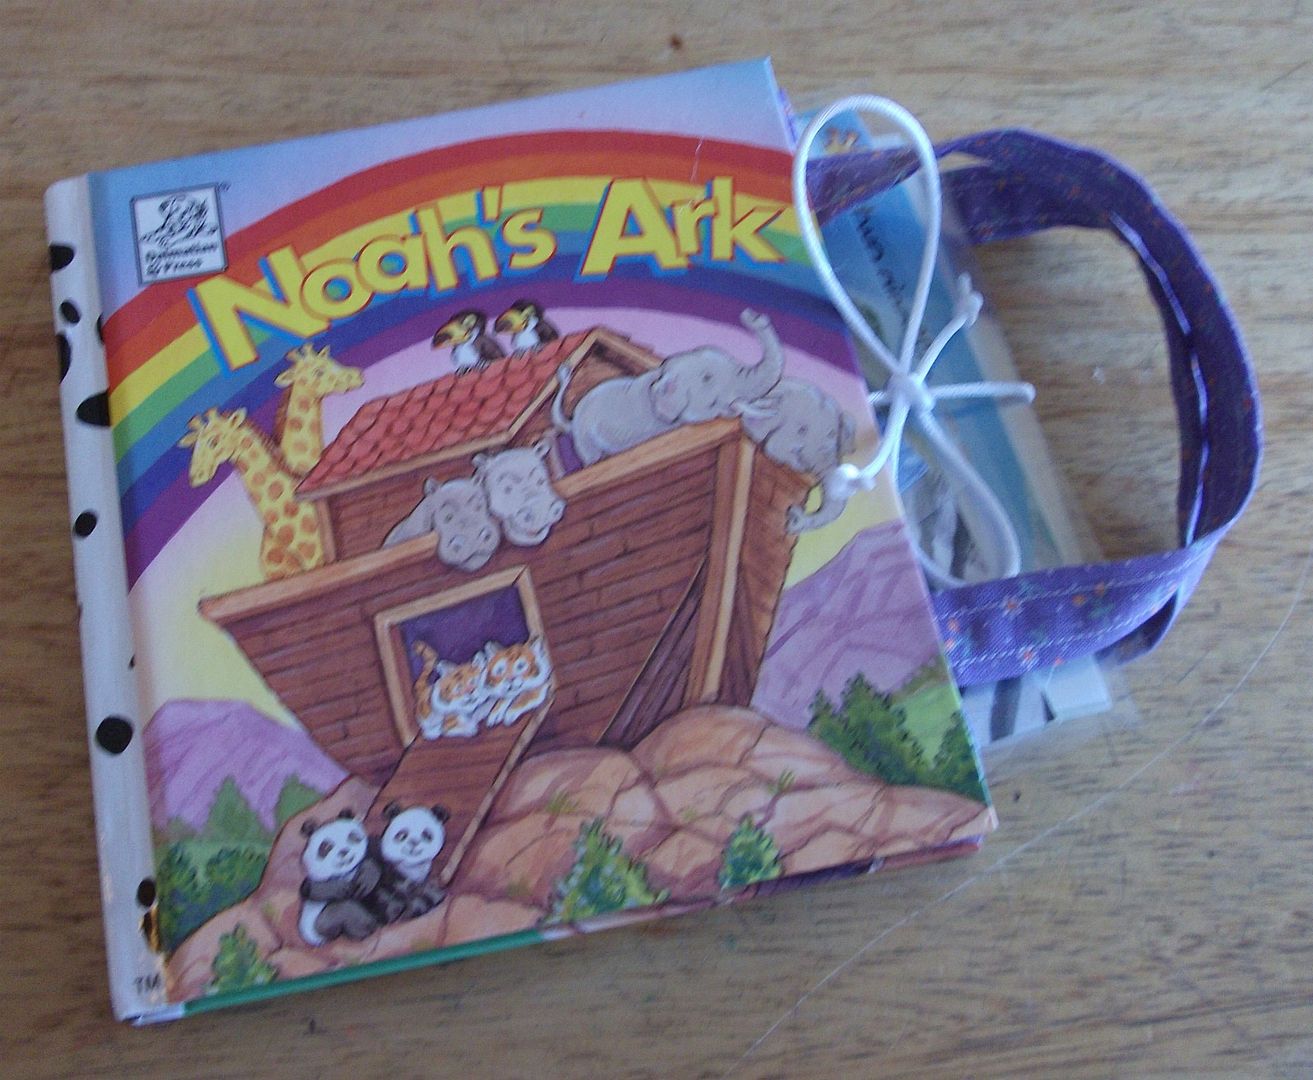
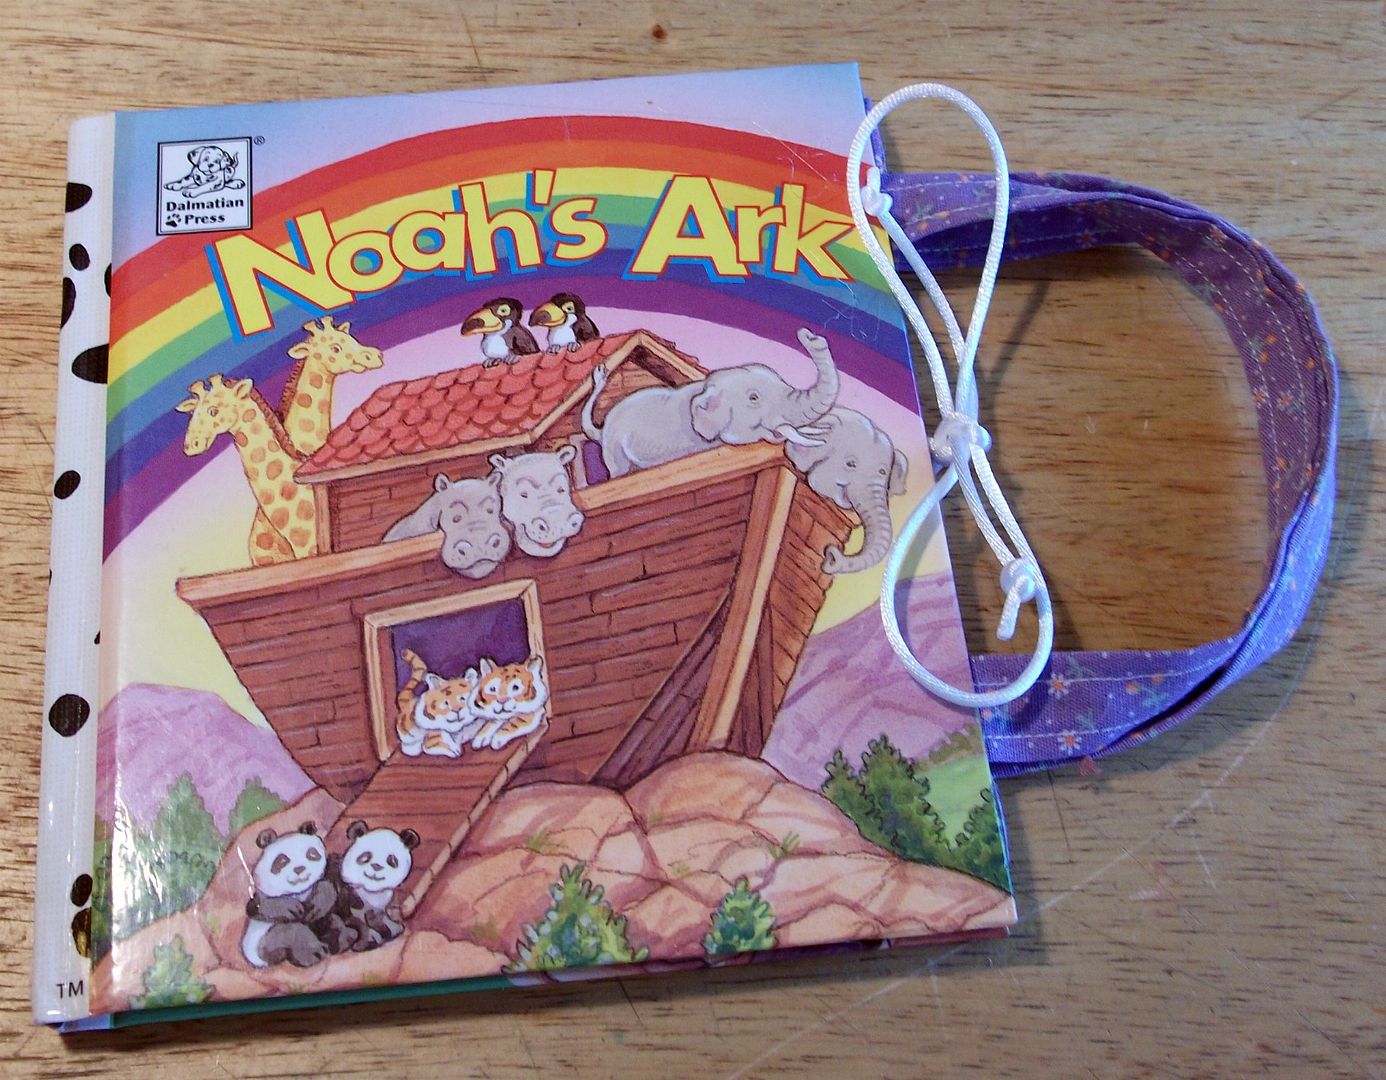
Here's what you do now, stand back and say, "Wow, how cute is that?"!


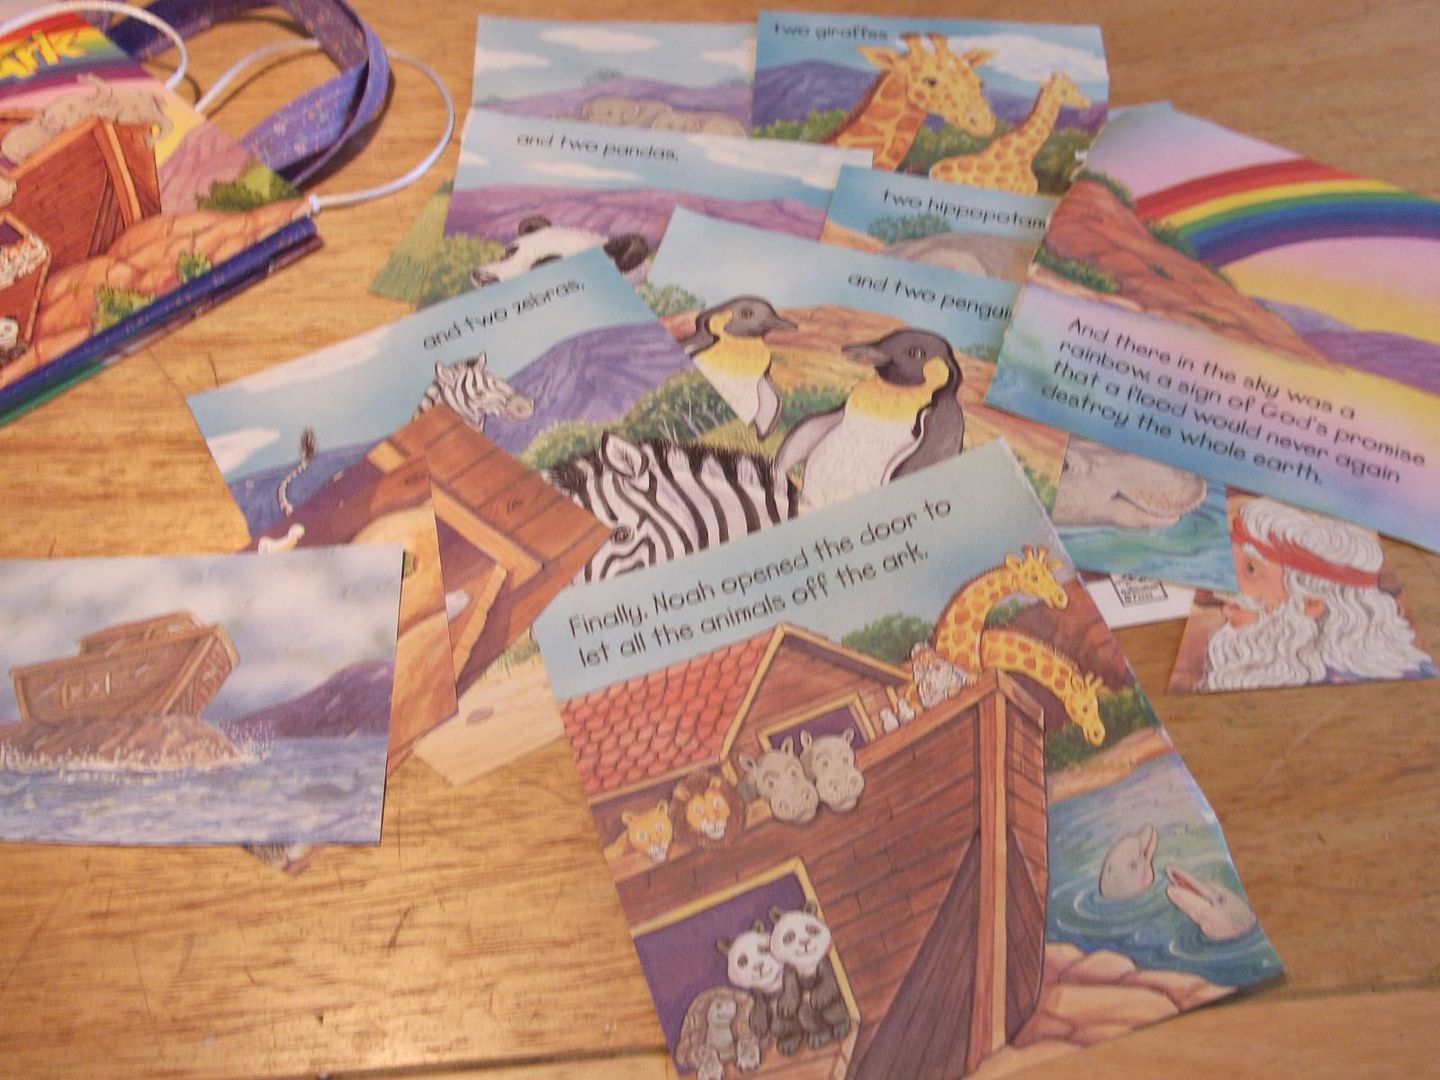
These are the pages I took out of the book.


I cut around all the images and then laminated them.
They all found their little home in Noah's Ark!


Happy Wednesday!
Sunflower Wall Hanging

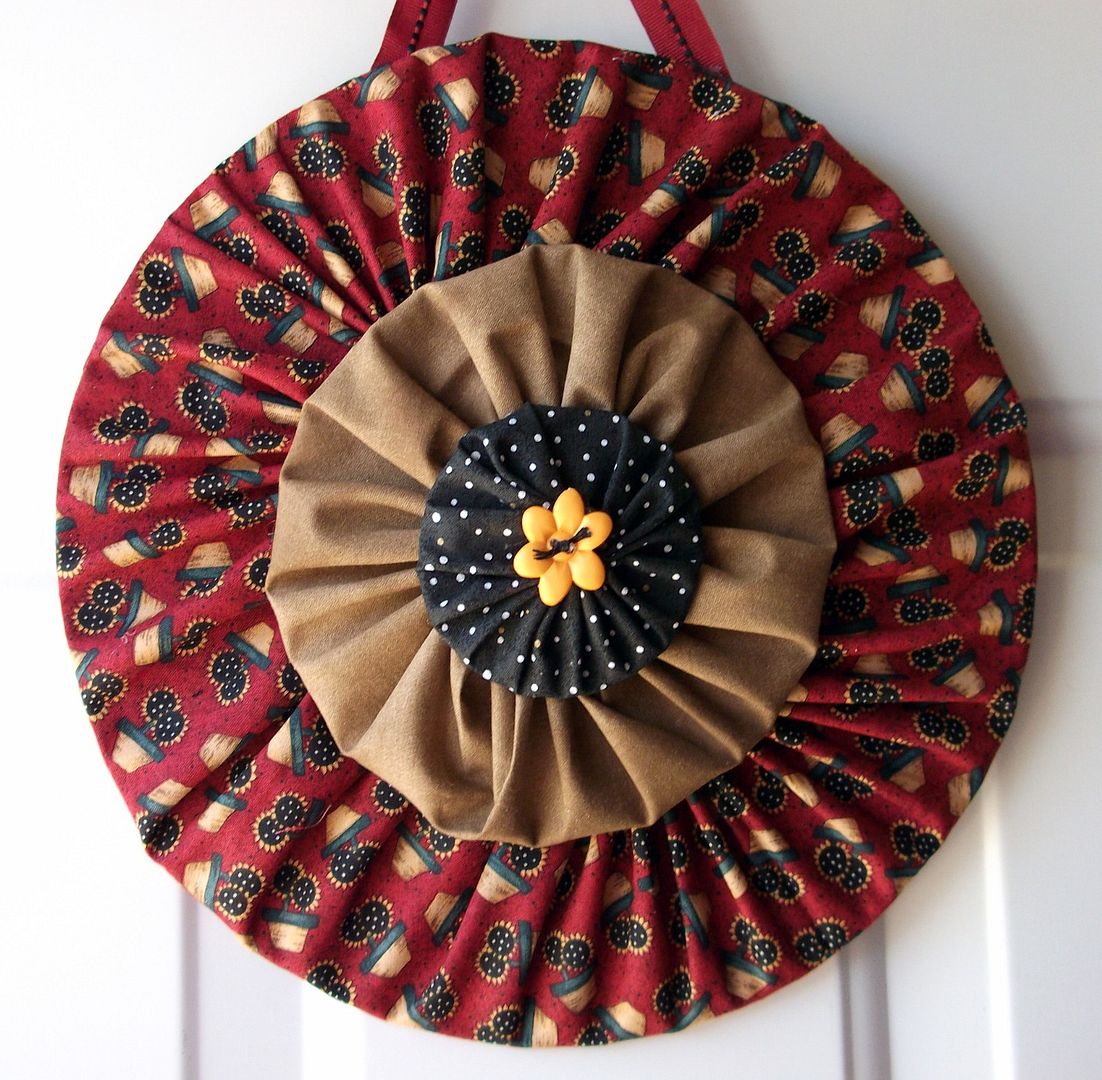
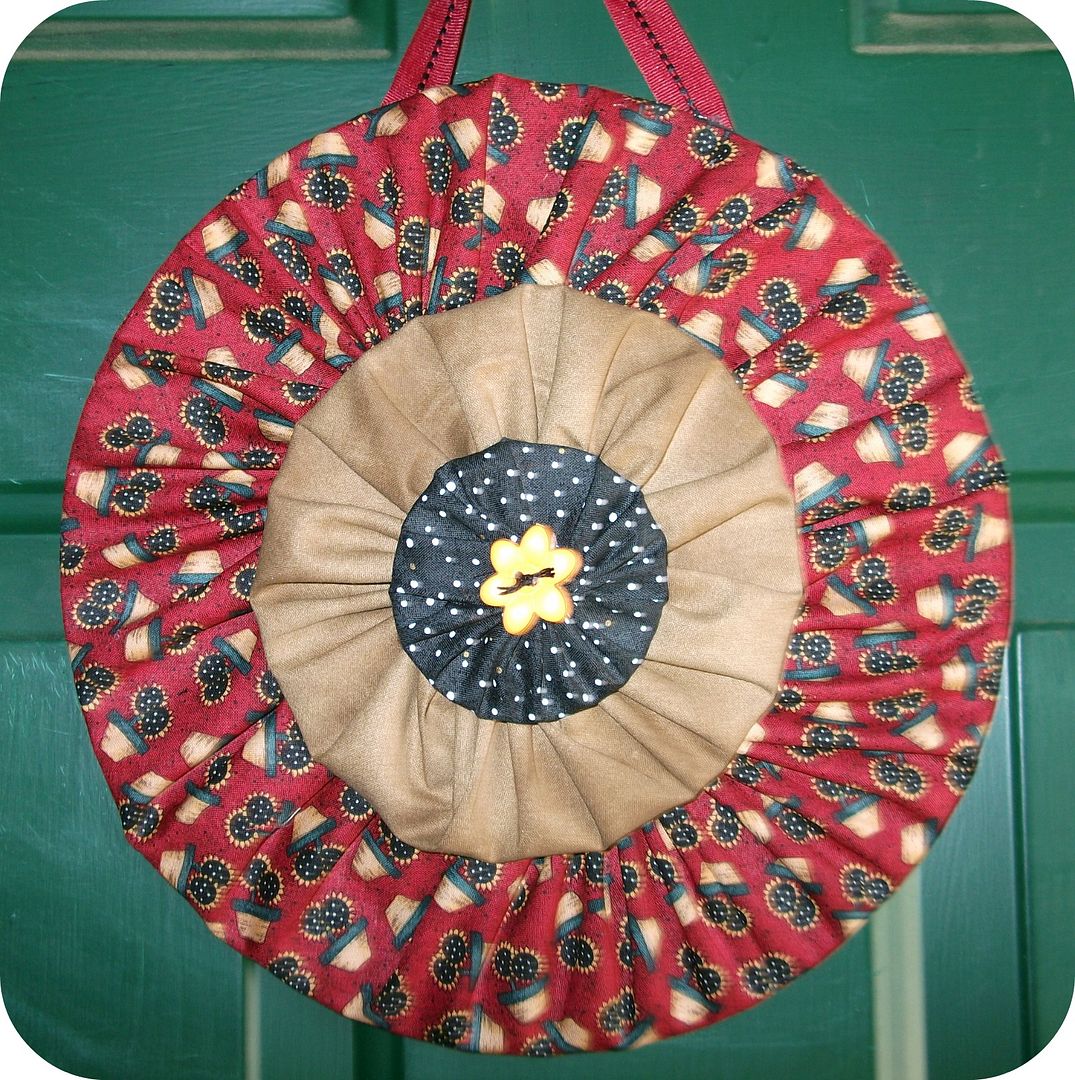
I am so ready for Spring! It was 65 degrees here on Saturday and today when I woke up, there's 3" of snow outside! Gotta love Missouri weather! Go ahead, snow away, I still have my sunflower hanging on my front door.


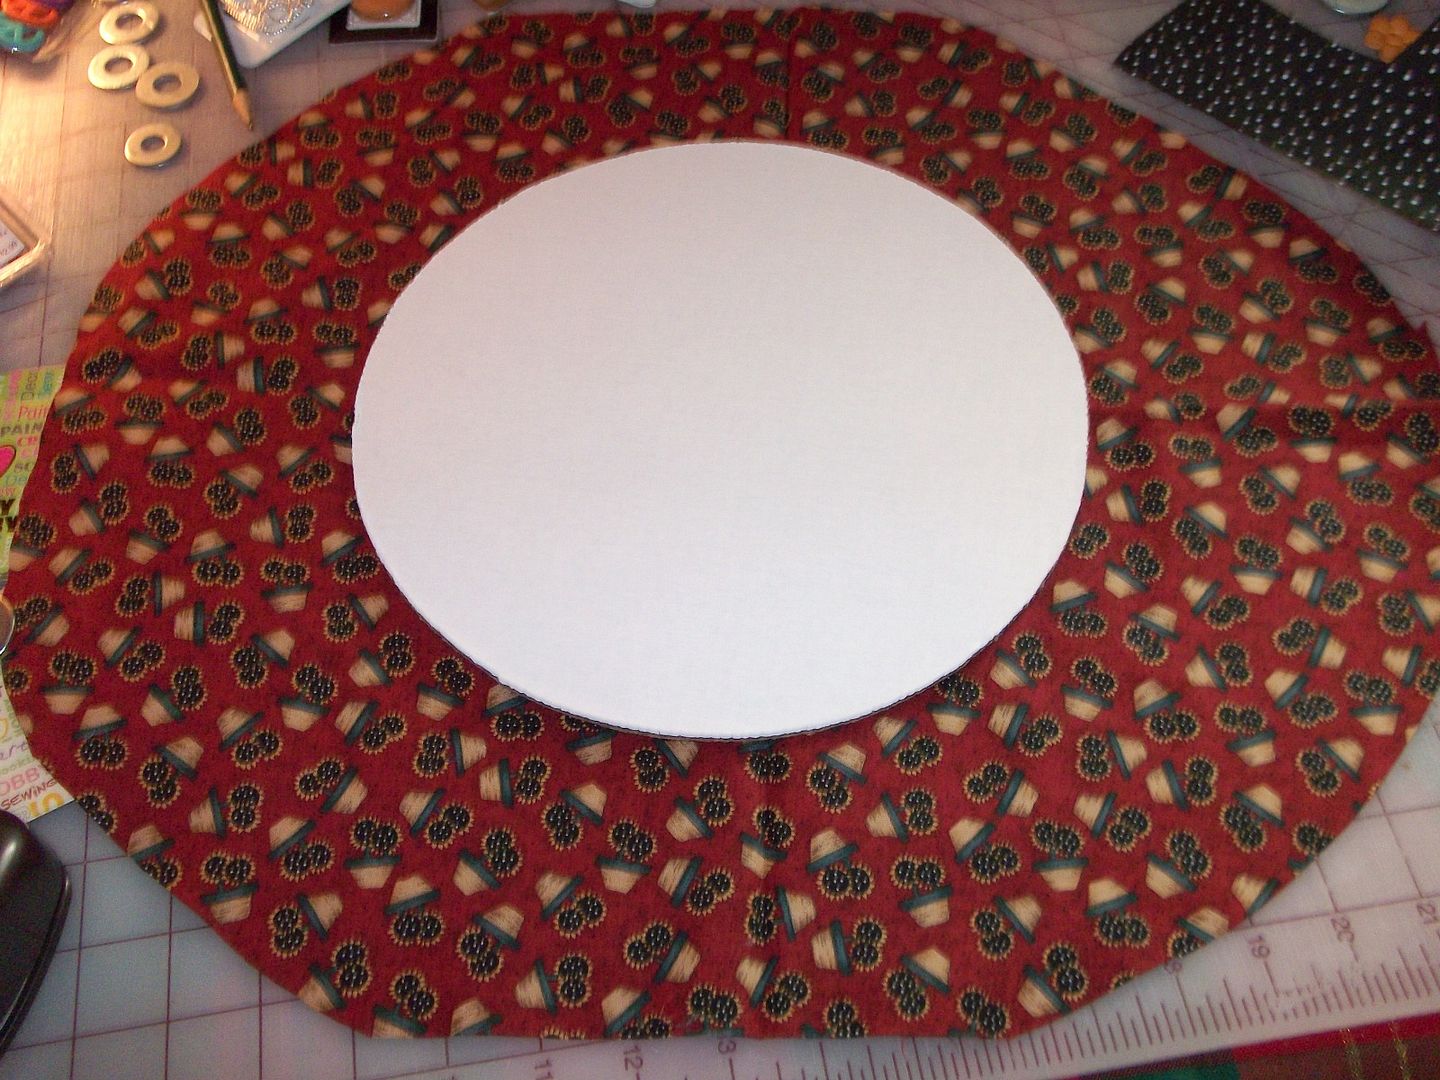
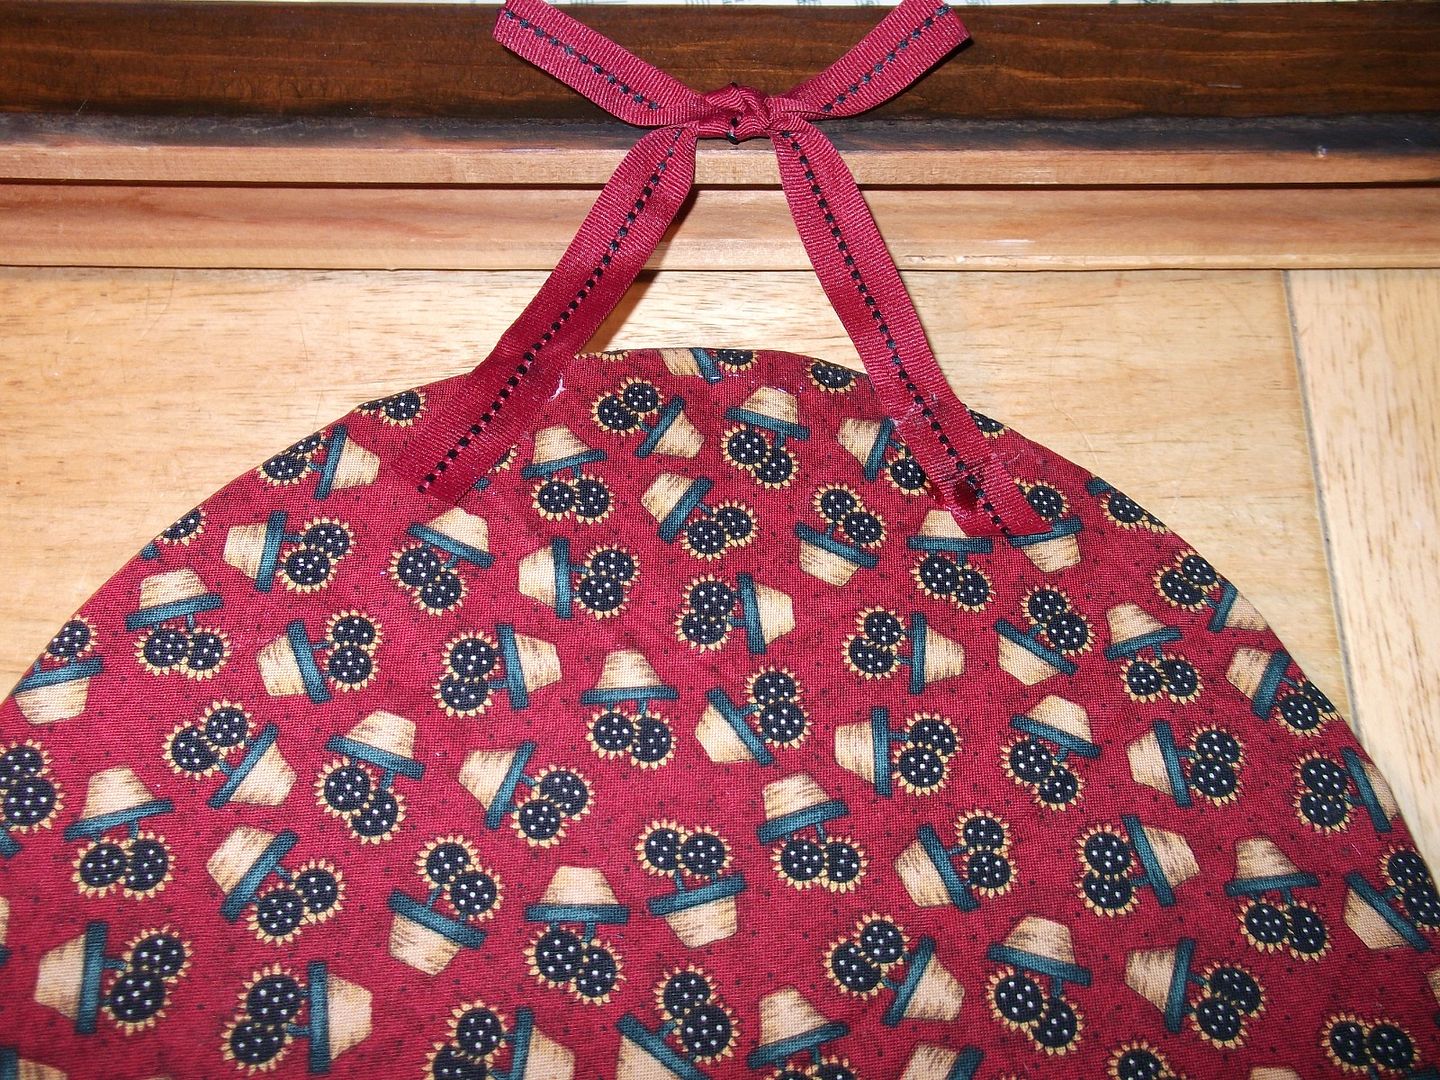
I had that cute sunflower material and just cut it around the circle.


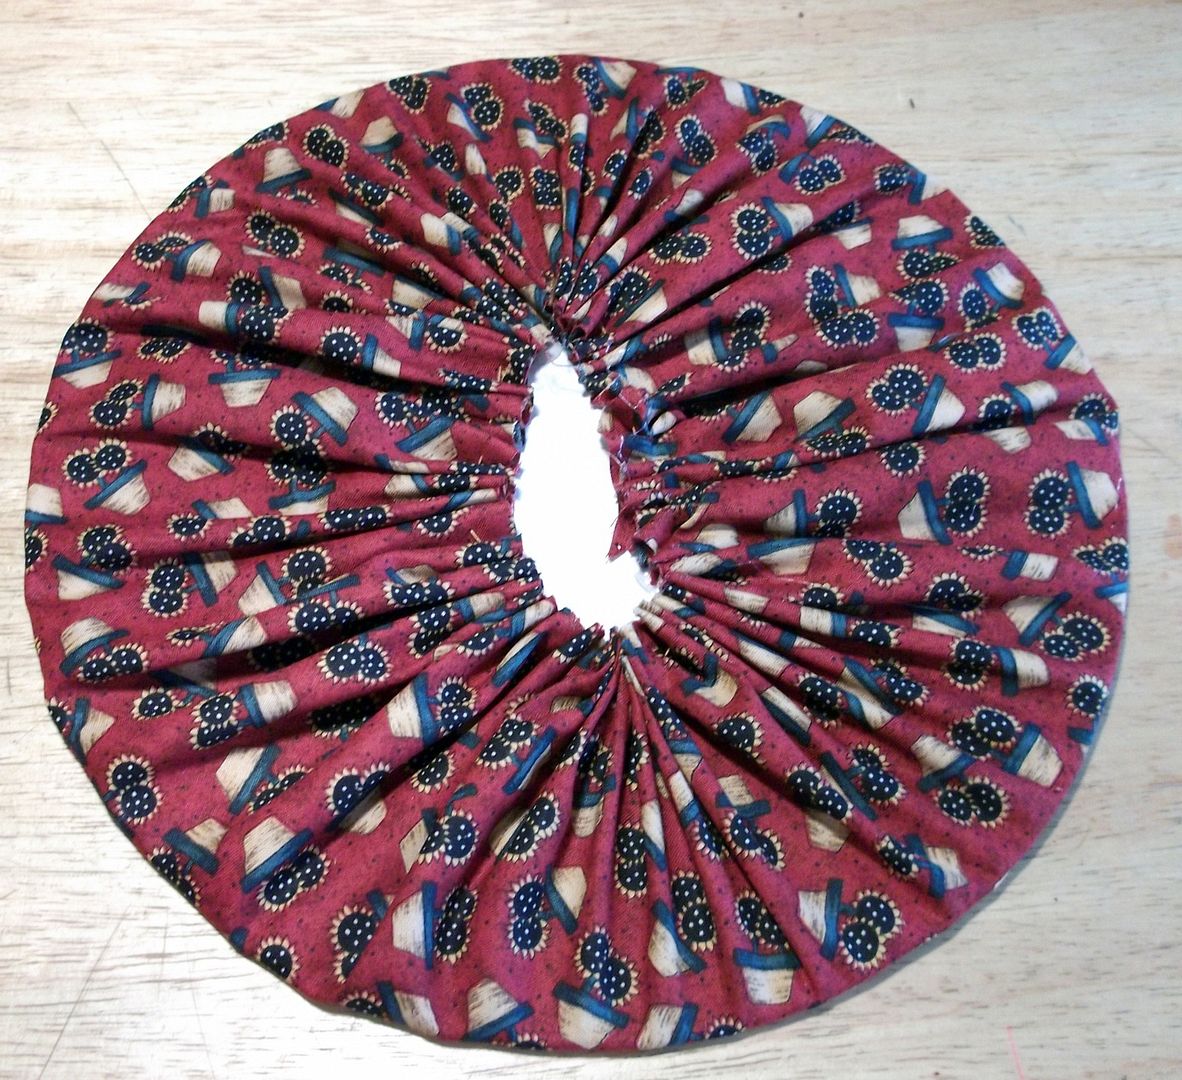
I sewed around the outside and pulled it together.


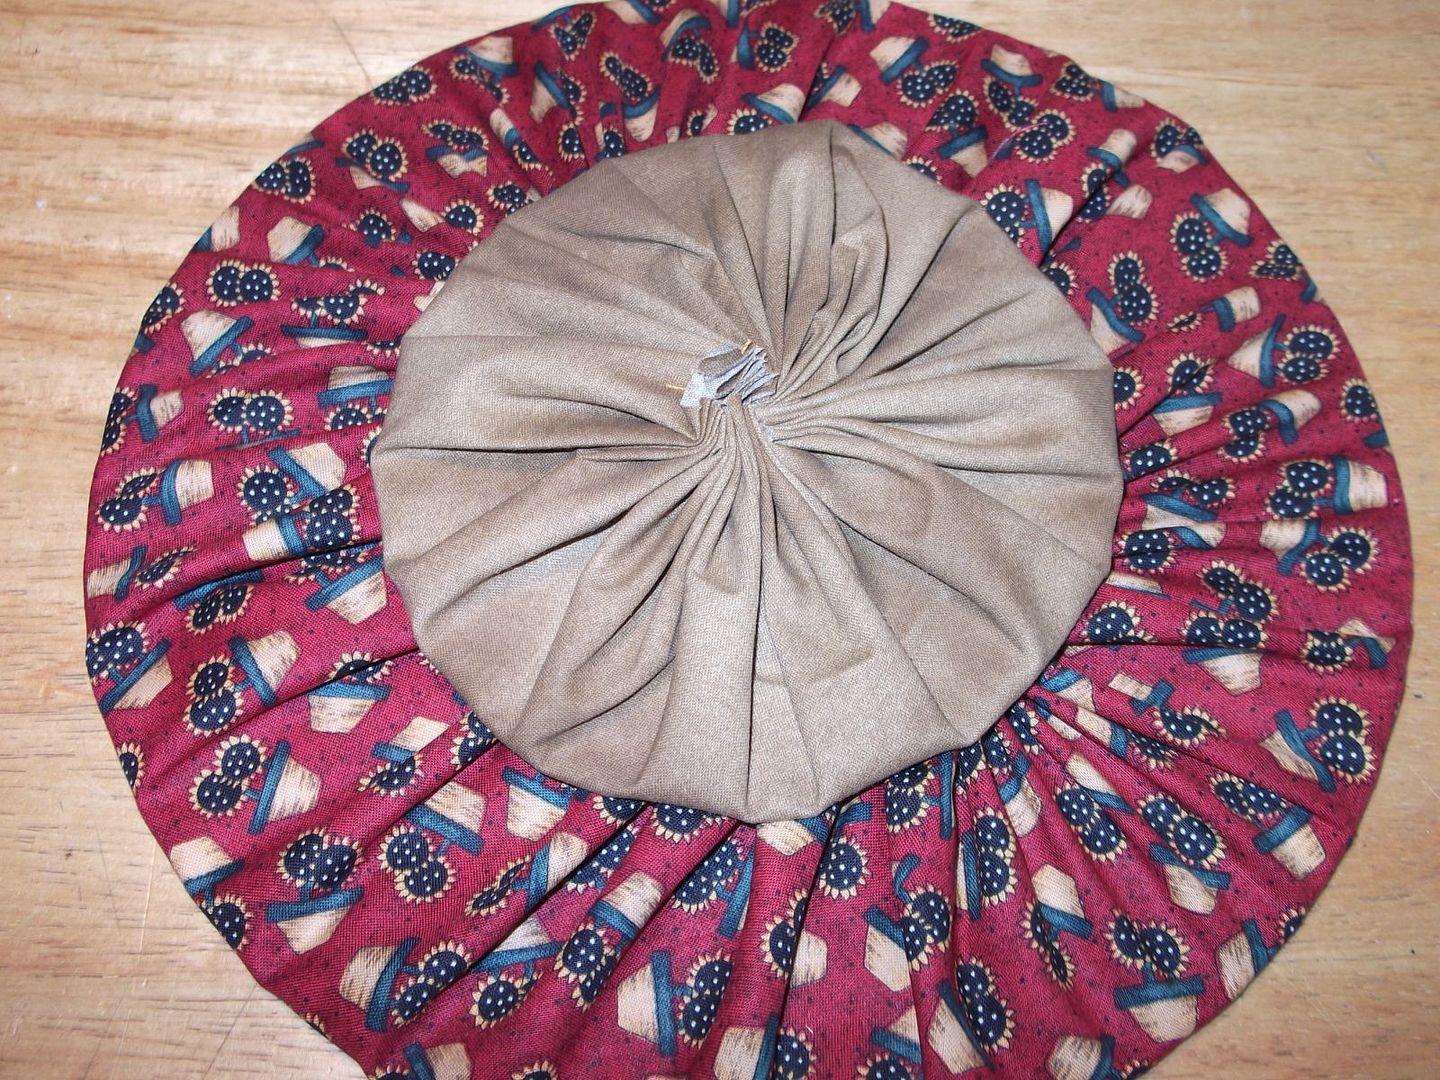
I made another giant yo-yo and glued it on top.


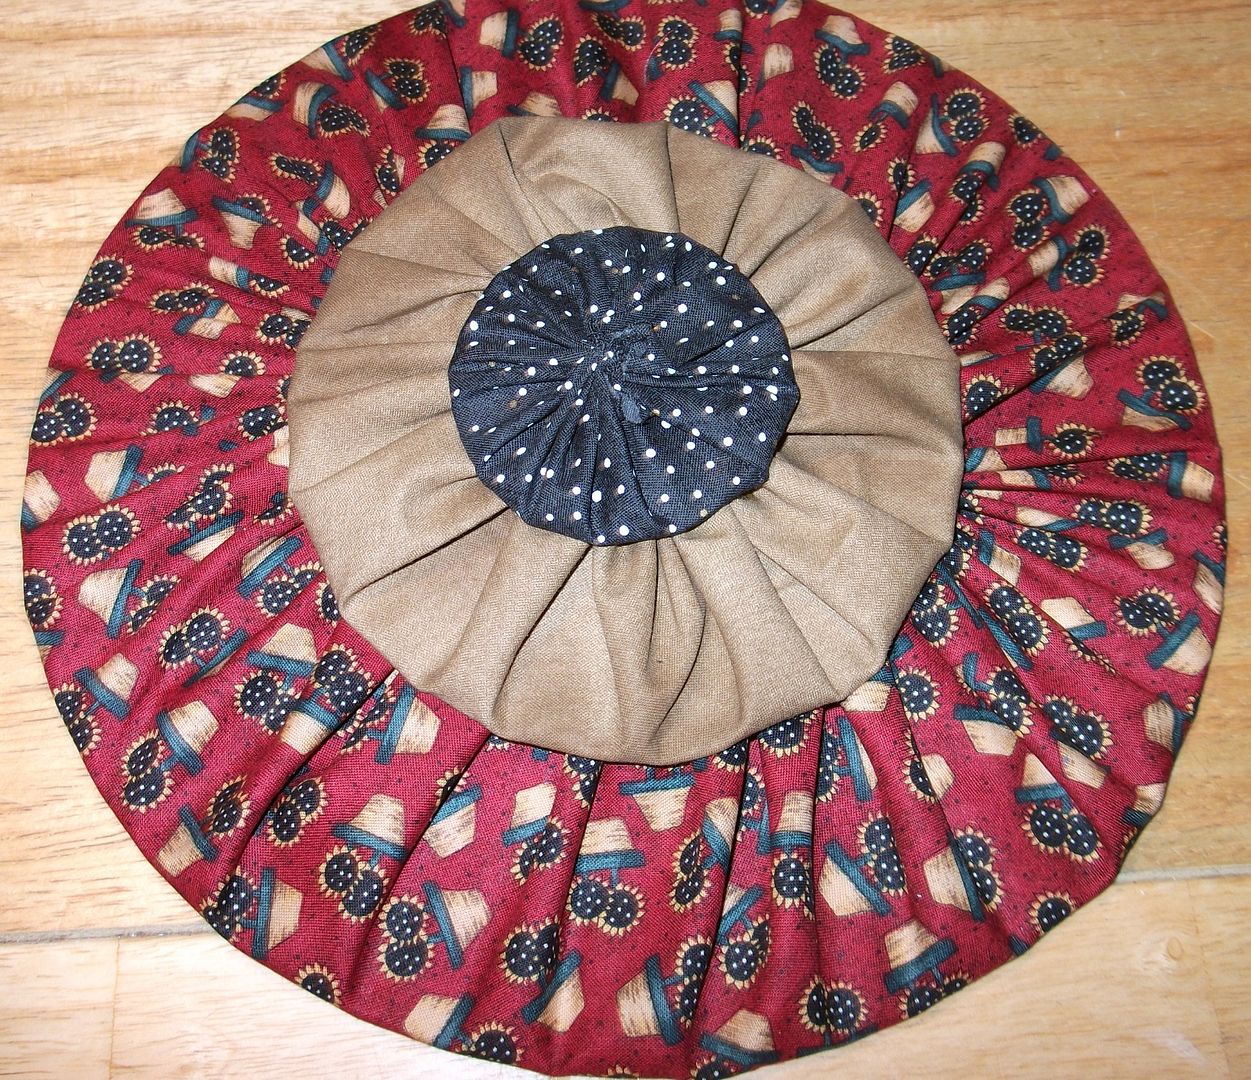
And another one.


Glued a ribbon on the back for hanging.


Then I added that cute little button.


And hung it on my front door.

Have a great week!